
Ready for the rollercoaster? It's all my niece Kylie's fault, I blame her entirely ;) For Christmas my niece Kylie asked for (and got) a Cricut. I think she was...

Ready for the rollercoaster? It's all my niece Kylie's fault, I blame her entirely ;) For Christmas my niece Kylie asked for (and got) a Cricut. I think she was...
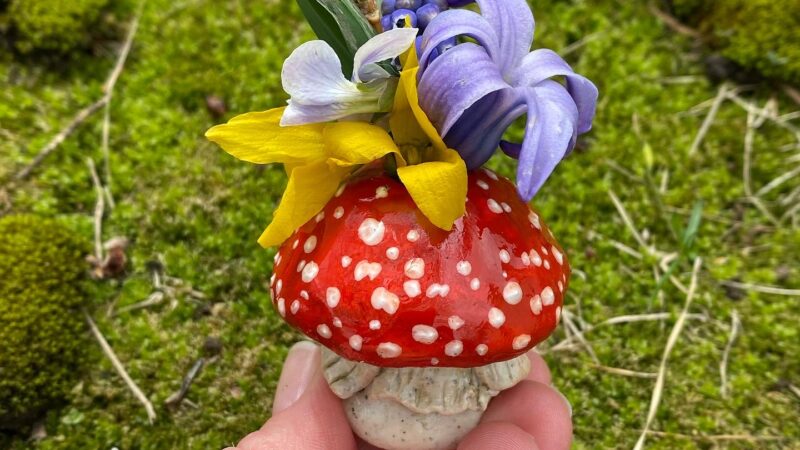
I love a good bud vase and have purchased several over the years. Last year I had an idea to make a mushroom shaped bud vase. It has been on...
I have a bit of a crafty post that I've been meaning to share for a while. Last fall I got a Stay Home Club bag at Renegade and immediately...
I finally installed my knick knack shelf over the mantel in a proper way. Back story: Shortly after we moved into our house in 2011 I put these shelves up...
If you are local, I'd like to invite to the Na-Da Farm sale. There will be plenty of booths with vintage treasures, flea market finds, creative handmade products and yummy...
This weekend was the 12 Hour Craft Extravaganza that my sister's church organizes. It was my second year attending. Some may think "12 hours of crafting!? How can you stand...
This last weekend was the 10th annual Renegade craft fair in Chicago. I think my sister and I went to their second year and have gone to every one after...
Hello friends, I started a little craft project recently and made these colorful, chunky beaded necklaces. They were really fun, easy and inexpensive to make, so I thought I'd share...
This was one of those things that popped into my head while I was at work and then I just wanted to go home and work on it. I simply...
Yesterday we were at Target and I was looking for wrapping paper when I happened down an office supply isle. This isle also happens to house the Kid Made Modern...