Edit to note that this post is post dated, as I try to catch up and share things that happened in 2024, a heartbreaking year For years there has been...

Edit to note that this post is post dated, as I try to catch up and share things that happened in 2024, a heartbreaking year For years there has been...
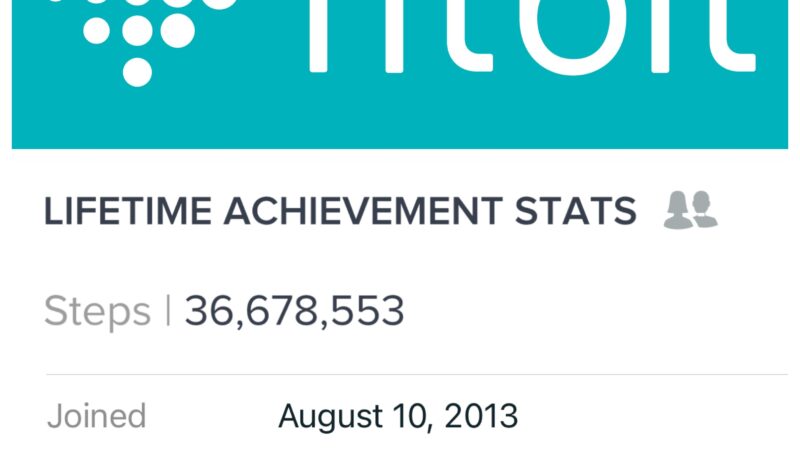
10k steps daily average for 10 years! Today is my 10 year #fitbit anniversary. Feel free to scroll on by this post if this isn’t your thing, but I definitely...
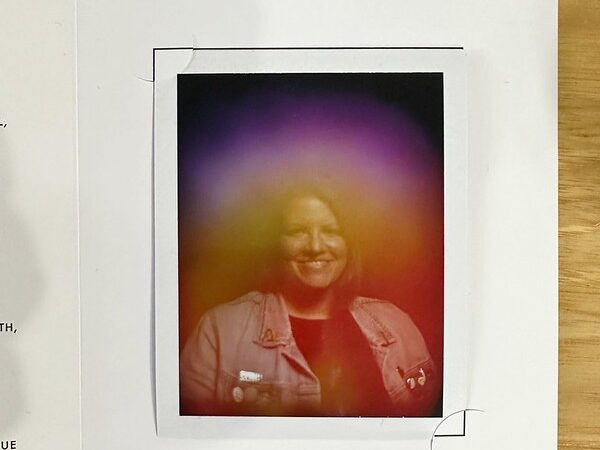
On Friday, April 12th my friend Elaina and I went to get Aura portraits done. We booked the appointments in March and I was so excited. It's something I've wanted...
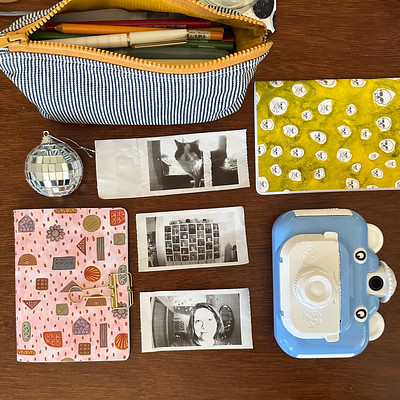
If you are are like me you may have seen ads for those mini printers that use no ink and print on receipt paper, mostly geared towards scrapbookers, artjournalers and...
Earlier this year I was invited by the highly creative and prolific Julie Fei-Fan Balzer to be part of her Artful Holiday Class. The class is 31 days of holiday...
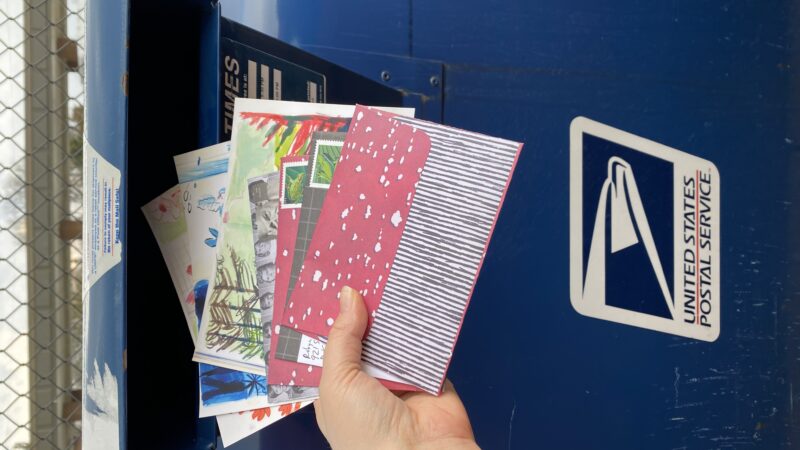
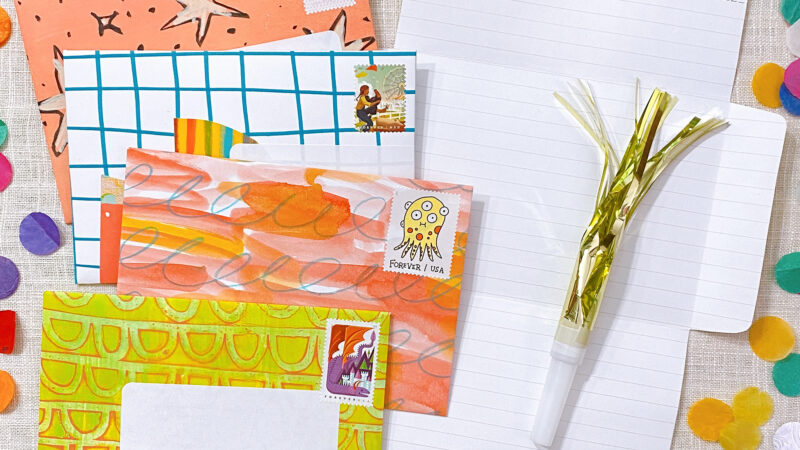
I I did it! I sent out over 30 letters in National April for Letter Writing Month. I'm not going to say it's my first time completing it, but I...
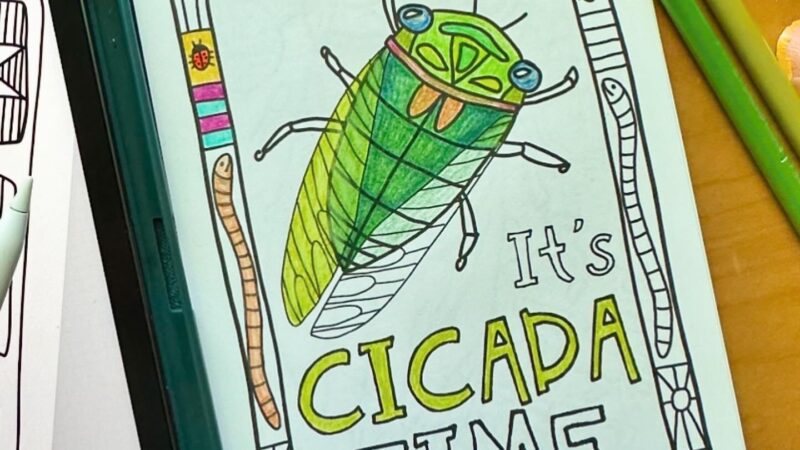
Part 1 can be seen here Part 2 can be seen here Day 21 Folk Art - I LOVE, LOVE, LOVE this one. This is probably my favorite from the...
I know! I know! Two blog posts in two days. What?! I'm posting today because I just remembered how I wanted to start a new blog post series. Every week...
Over the Summer Matt, my sister and I attended the STEM event, Breakfast with the Bison at a nearby tall grass prairie, Nachusa Grasslands. I've been pretty obsessed with the...
This past weekend I ventured into the city (Chicago) to attend the International Photobooth Convention. Years back it was held in Chicago and I chickened out going and then when...