Edit to note that this post is post dated, as I try to catch up and share things that happened in 2024, a heartbreaking year For years there has been...

Edit to note that this post is post dated, as I try to catch up and share things that happened in 2024, a heartbreaking year For years there has been...

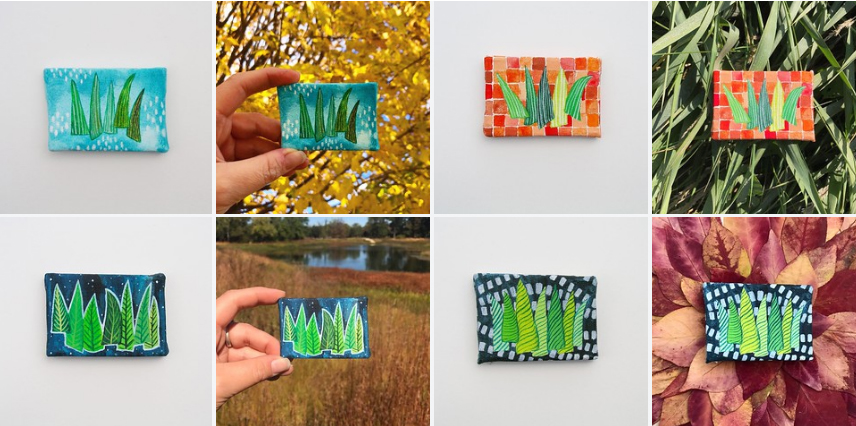
Yesterday I shared this pic on ig. The top book spread is from a book I made probably a couple months ago. I made the little 4" square book (youtube...
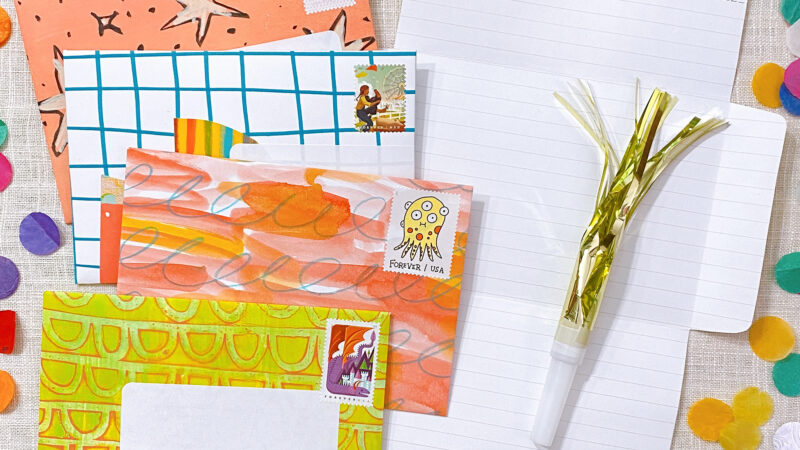
Earlier this year I was invited by the highly creative and prolific Julie Fei-Fan Balzer to be part of her Artful Holiday Class. The class is 31 days of holiday...

Last fall I had the idea to make a mushroom stationery set. I know, right? What took me so long to have that idea?! I also wanted to be a...
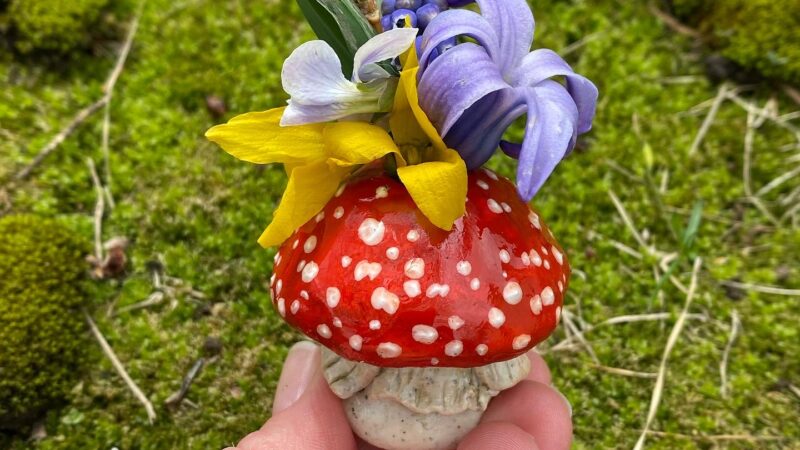
I love a good bud vase and have purchased several over the years. Last year I had an idea to make a mushroom shaped bud vase. It has been on...
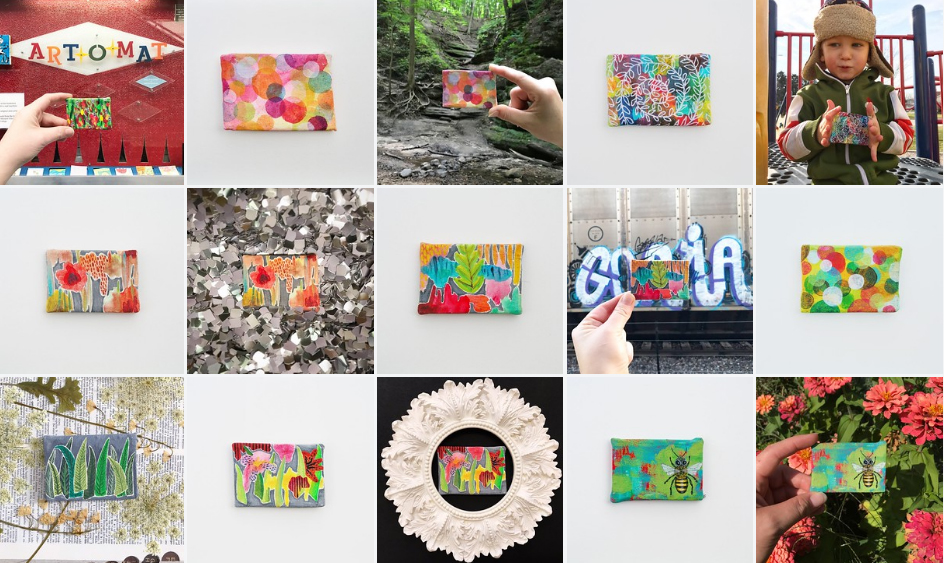
The Fourth installment of 50 Art-o-mat III paintings And if you are interested in seeing the previous posts: Art-o-mat Series III Paintings 1-10 Paintings 11-20 Paintings 21-30

I'm back with a third installment of Art-o-mat III paintings And if you are interested in seeing the previous posts: Art-o-mat Series III Paintings 1-10 Paintings 11-20

Here is the second installment of Art-o-mat paintings, 11-20. And if you are interested in reading the previous posts: Art-o-mat Series III Paintings 1-10
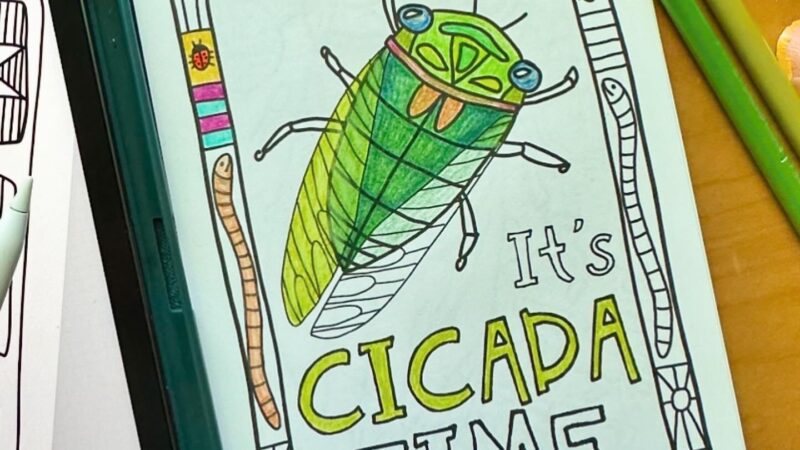
I'm participating in the 100 Day Project again this year, after sitting out last year. I'm doing a similar theme asto what I did 3 years ago, and trying to...
I've been in a funk for the last couple days, and the fog has lifted! I'm adding things to my t0-do lists and feeling pulled in so many directions. When...