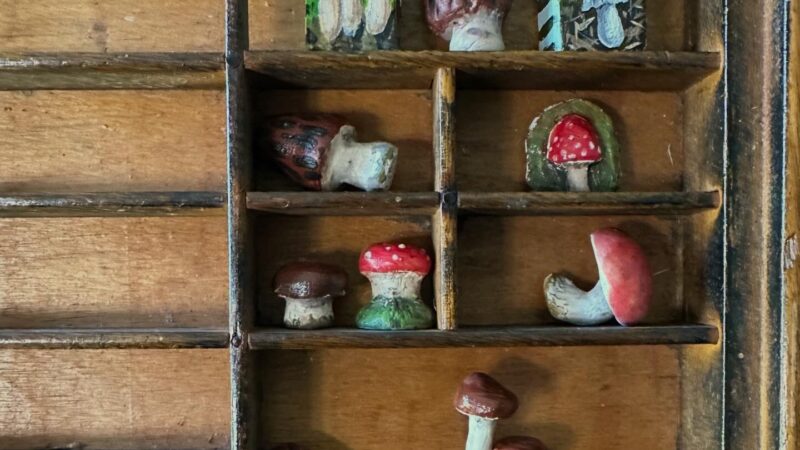
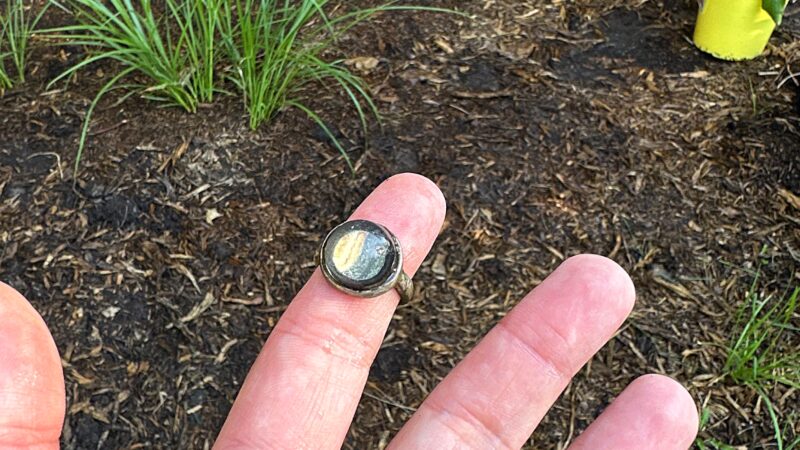
I finally dropped my Shroom packets! 🍄 🍄🟫 If you are like “what are you talking about, Robyn?” Go check out @gameofshroomsofficial and learn more. If...

I finally dropped my Shroom packets! 🍄 🍄🟫 If you are like “what are you talking about, Robyn?” Go check out @gameofshroomsofficial and learn more. If...
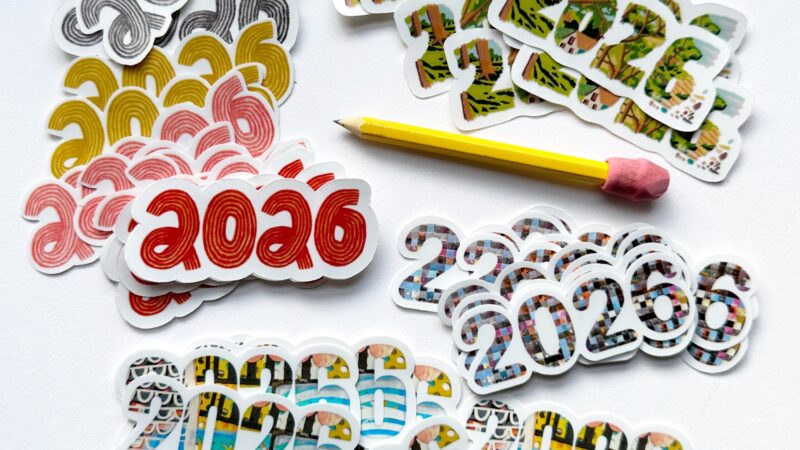
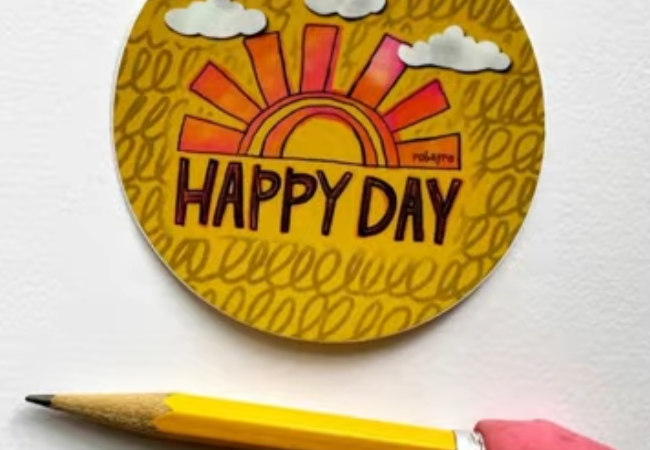
As soon as Pattern January ended, I shot out of the gate with all sorts of projects that I have been wanting to do. Number one being my yearly sticker....
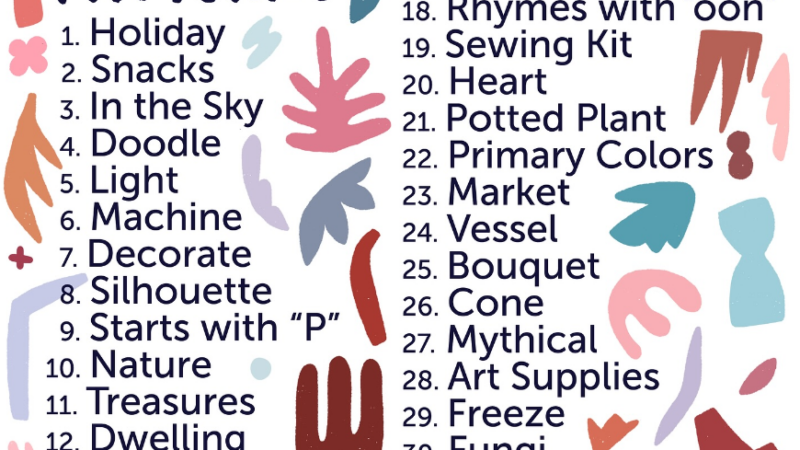
2026 saw a return to one of my favorite projects of the new year, Pattern January! Anika Starmer has organized this beloved daily prompt list, and according social media pages,...
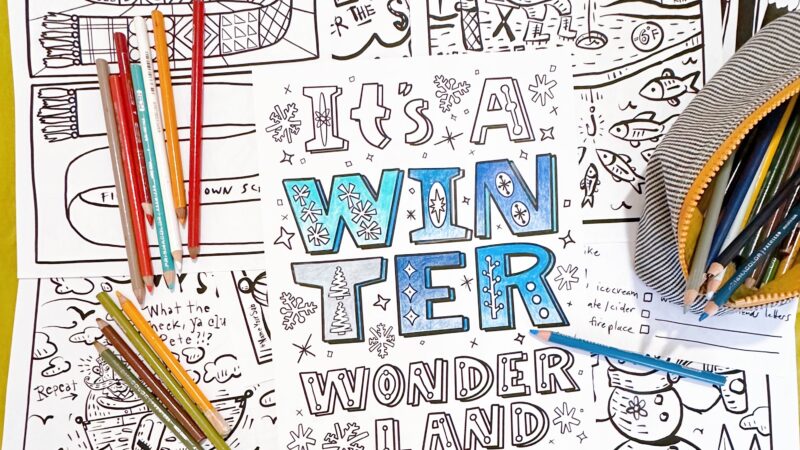
If you remember, in 2024 Kyle White and I made a little coloring book to celebrate the arrival of the periodical brood cicadas that would be emerging. Well, we are...
Something I haven't shared yet with anyone other than family and close friends is that after we got home and found him, I immediately went into "What did I do...
My birthday was September 22nd and I was absolutely spoiled by my family. I got the Polaroid Go with 6 additional packs of film (I'm sure there will be a...
Where do I even begin? I had so much to say a few months ago, but because of wanting everything to be finalized, I felt I couldn't make any "official"...
Let me set the stage: It's the 90s. I loved going to malls (I still love malls today, but they've mostly been torn down and replaced with strip malls). I...
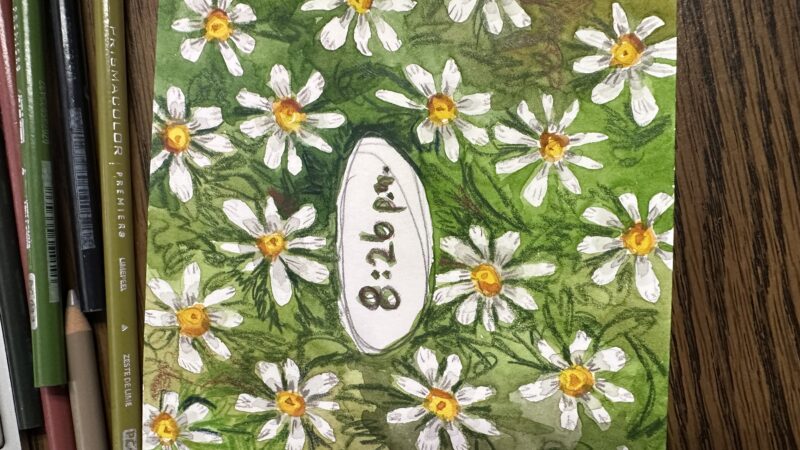
Little video explanation Earlier this week I had an idea 💡 I had this ancient horizontal Moleskine watercolor sketchbook that I finished. I couldn’t find a quick replacement, so I...
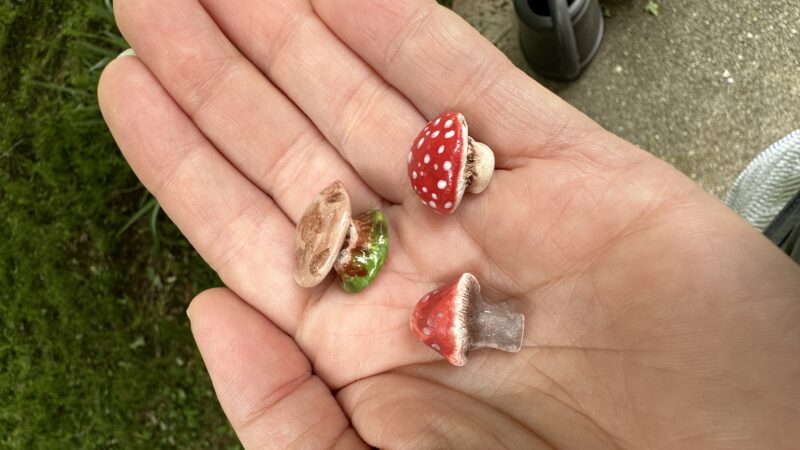
I’m participating in Game of Shrooms 2024! Click the pic above to see the Instagram post with more details about where to find my contributions in DeKalb, Illinois.