
I’m participating in Game of Shrooms 2024! Click the pic above to see the Instagram post with more details about where to find my contributions in DeKalb, Illinois.
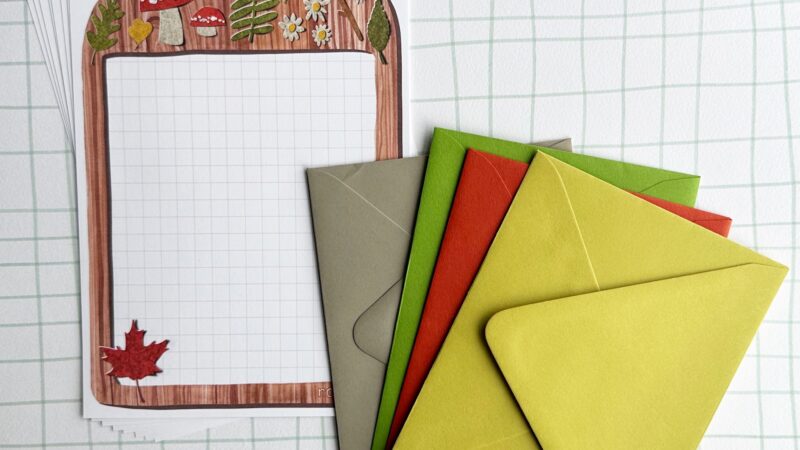
I had an idea a couple weeks ago to paint a wooden watercolor border. The idea is that I can swap out elements on top for different themes, seasons or...

I finally activated my Faire wholesale account. I created the account in 2020, or 2021 with the goal to add items and hopefully have my products in shops, but then...
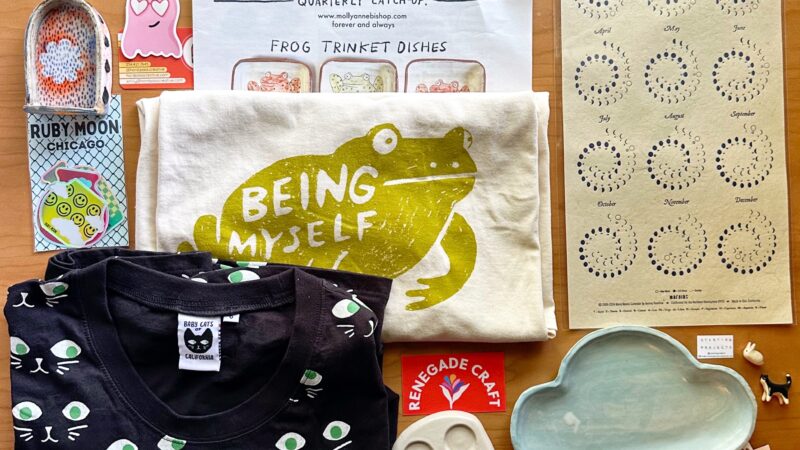
If you’ve been around for a while you may recall that I have shared my Renegade Chicago Haul every year. I think I’d been to every one since the second...
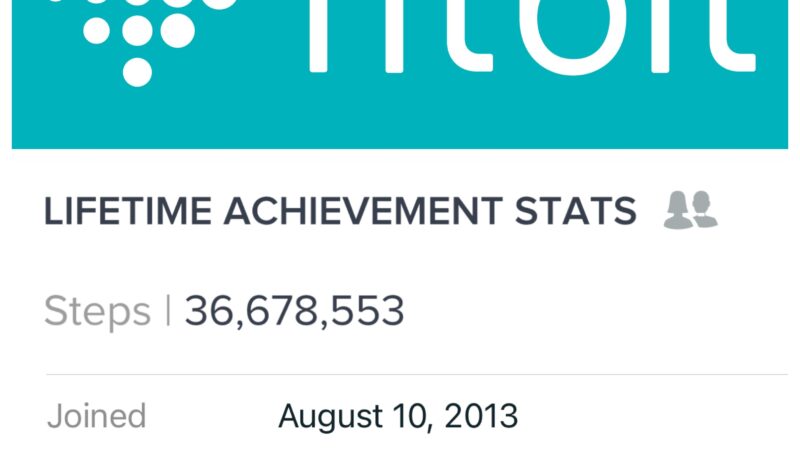
10k steps daily average for 10 years! Today is my 10 year #fitbit anniversary. Feel free to scroll on by this post if this isn’t your thing, but I definitely...
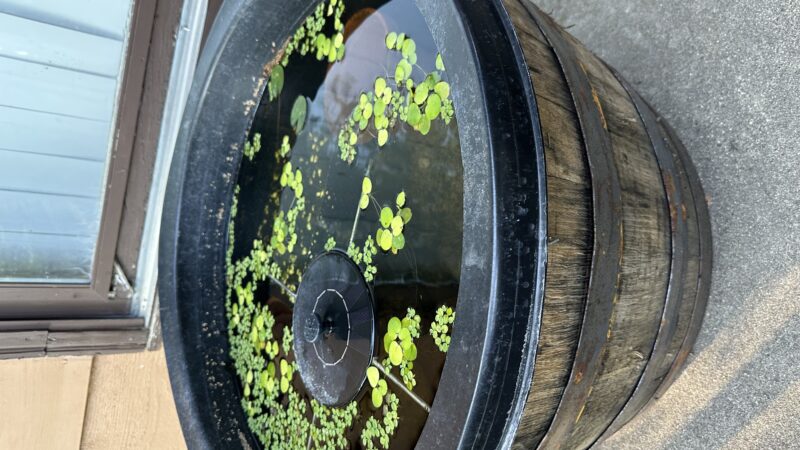
When I was young my grandma had a friend Rita that had a wooden barrel pond in her back yard. It always stuck with me because she told me about...
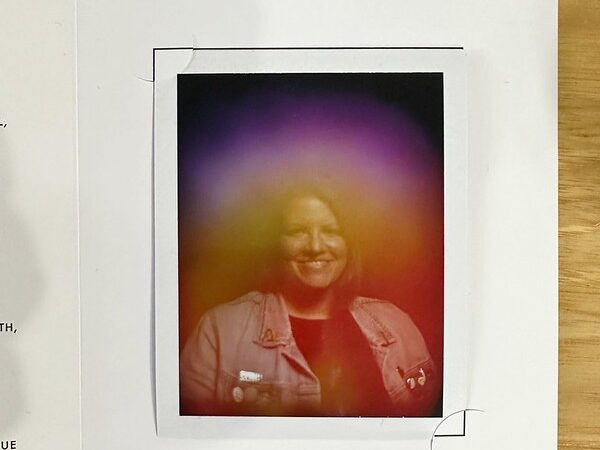
On Friday, April 12th my friend Elaina and I went to get Aura portraits done. We booked the appointments in March and I was so excited. It's something I've wanted...
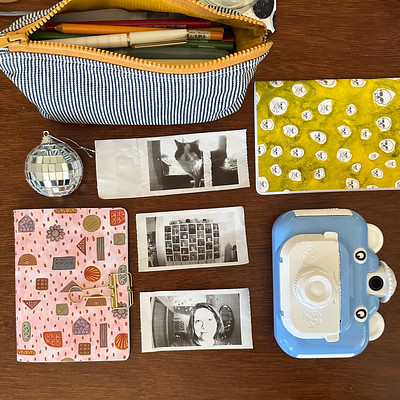
If you are are like me you may have seen ads for those mini printers that use no ink and print on receipt paper, mostly geared towards scrapbookers, artjournalers and...
It's late March and I'm in a funk. I inspired and get excited and want to work on art, but when I sit down to do anything, I have absolutely...
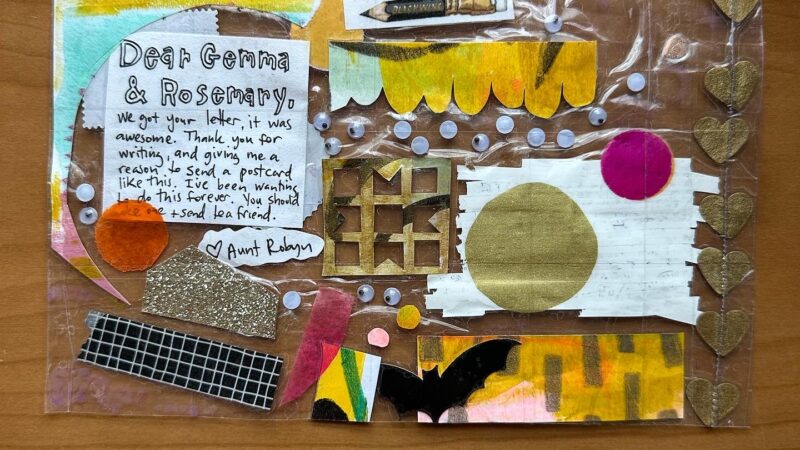
My nieces Gemma and Rosemary sent us some snailmail, so I took the opportunity to respond by making a packing tape postcard like I had been wanting to do for...