
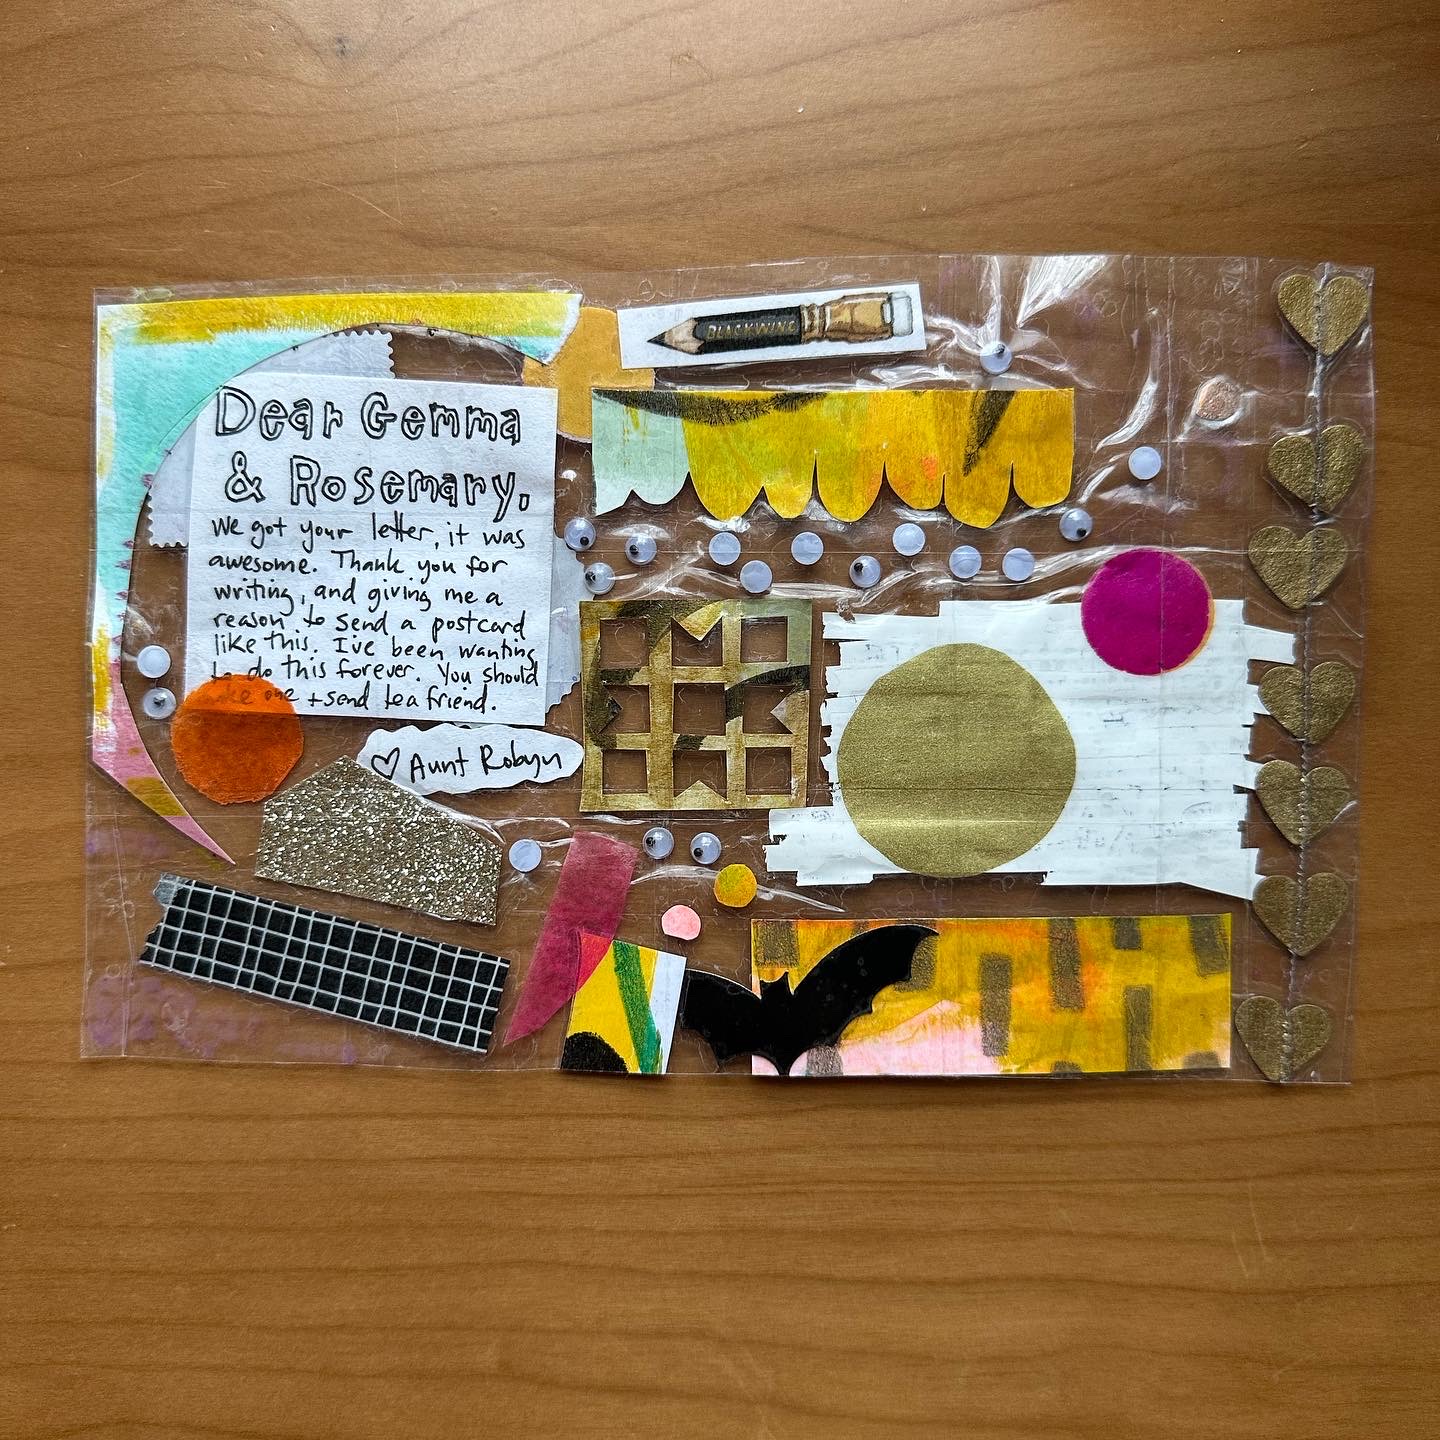

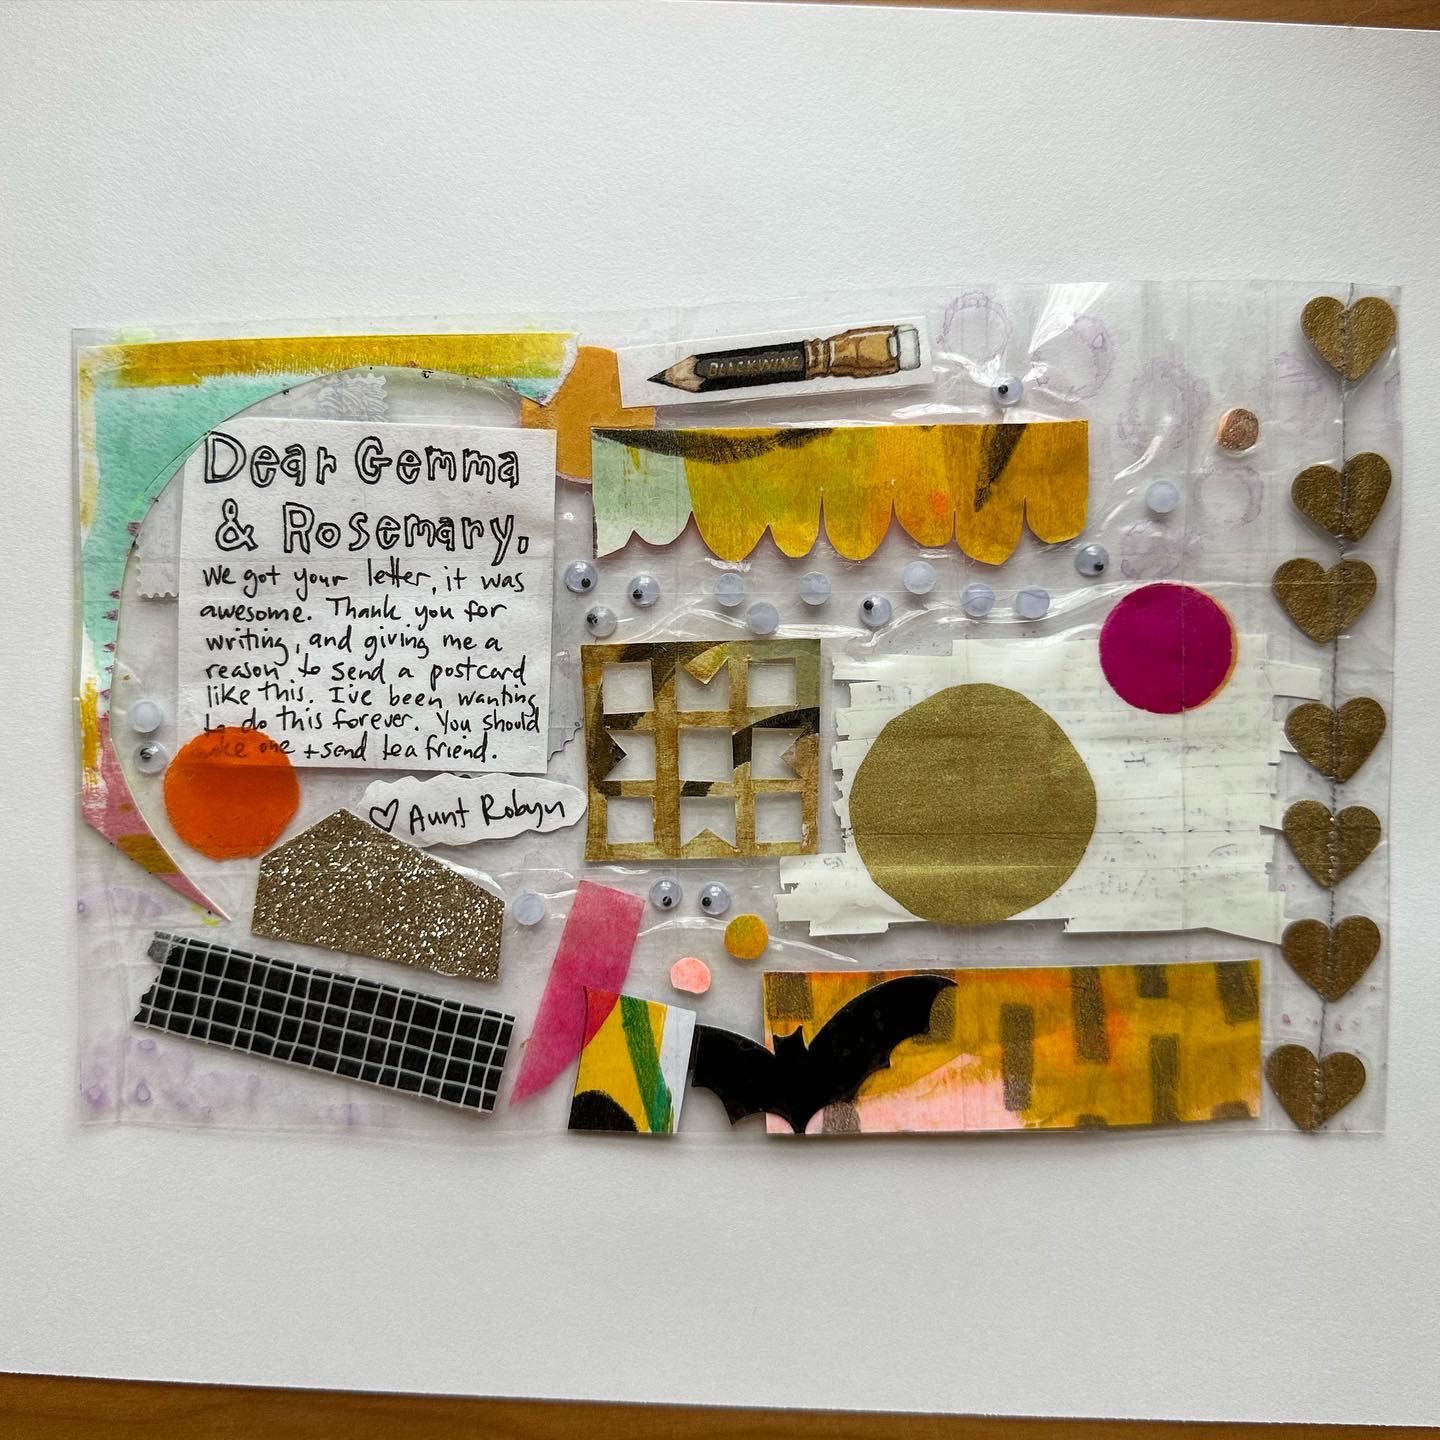
My nieces Gemma and Rosemary sent us some snailmail, so I took the opportunity to respond by making a packing tape postcard like I had been wanting to do for a long time.
I tried a bunch of different stuff:
First I laid down some layers of packing tape, overlapping, and face up, so they would stick together and hold any of the items I place on them.
I included one of my gold heart garlands along one edge. Originally I had some of the garland coming out, but then I was afraid it could snag on stuff in the sorting system and get lost or rejected because of that, so I snipped it off.
I kinda just picked up scraps of tiny papers here and there. I put in some tissue paper confetti that was semi translucent, and a couple pieces of my decorated papers, one being a cut out stencil of a quilt block. I thought that was appropriate since Gemma takes sewing lessons from my mom. I put in some washi tape, but since I wanted both sides to be interesting, I put the tape back to back.
I put in a piece of paper that I wrote the note on, the other side was splatter painted.
I tried stamping and painting watercolor on the sticky side of the tape, but the paint was very translucent so I don’t think it translated.
I used a correction tape runner (white out) on the tacky side of the tape to write the address.
I added in micro googly eyes to give the whole thing some movement. Next time I would still use googly eyes, but I probably would add a variety of sizes (which I had, I just didn’t do)
I put on over $3 worth of stamps, thinking that a light small package I send for my stationery shop is around $3. Since then, people have told me that they send similar postcards for standard non-machinable rate which is around $1.05? I always like to add extra (just in case)
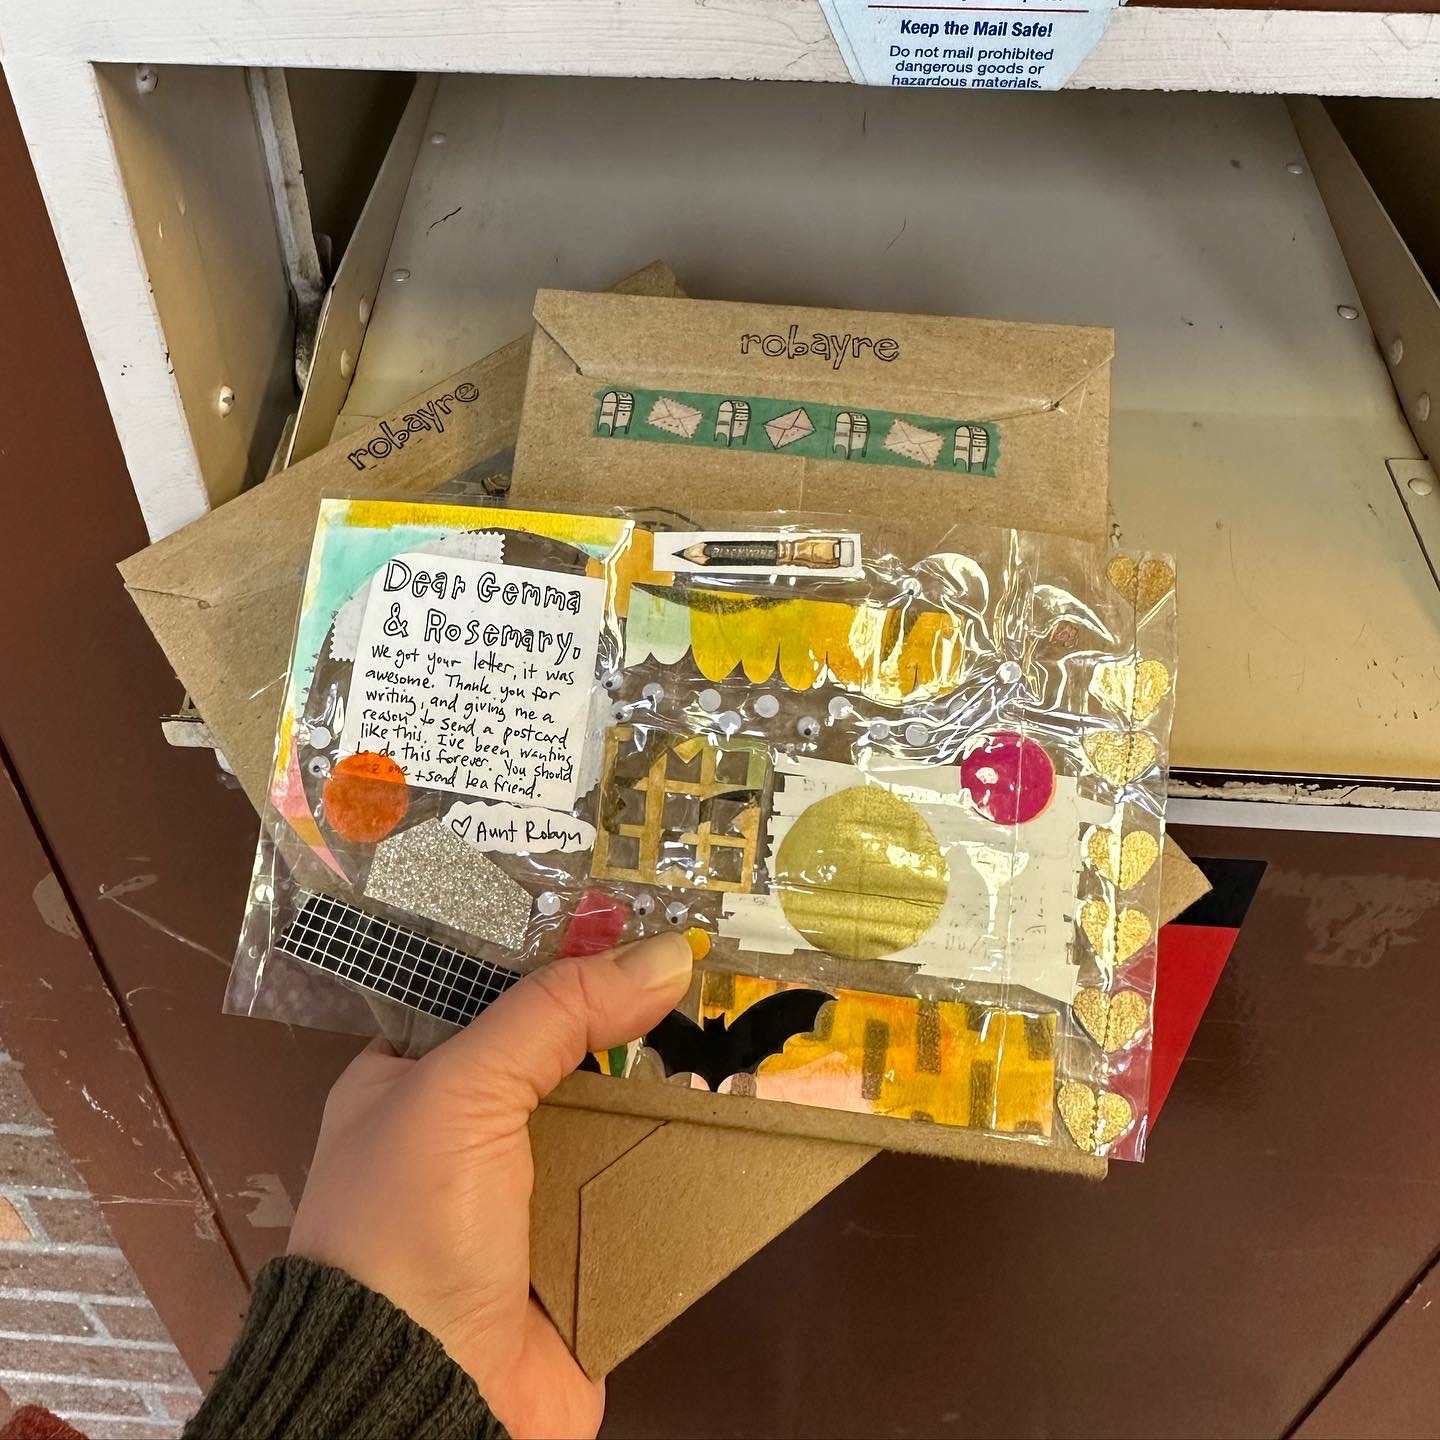
I ended up having to add several more layers of packing tape so that it wasn’t so floppy. When I do it again I may try using a piece of acetate for one side, just so it is more rigid. Someone on instagram suggested that they use a laminator, and this sounds just like one more reason that I need to buy one at some point. I also had the idea of using my scrapbook-pocket-iron/fuser-wheel-doohickey to make a postcard that is open inside, like a shaker.

The postcard went across town and was received the next day!