
For a couple of years I’ve been wanting to buy a large wooden Advent boxes with 25 doors. This year I picked one up at Target and told Matt that we were going to each do 14 doors. This will be 11 days back and forth with one item behind each door, and the final three days will have 2 items inside, one from each of us. We’ll get to alternate who opens the doors, and since we doing every other day, it will be a surprise for each person what the item will be. The doors are very tiny, probably about 1.5″ squared, so to avoid the stress of shopping for items that would fit through a 1.5″ hole, we composed a creative list of items to be put in each of our doors randomly. Some of the ideas were inspired by cozy home décor trends, including cute seasonal accessories and even fun inspirations we found while browsing doormats Australia shoppers love for holiday decorating. To help you manage the stress, try using Magic Mushroom Gummies to support your emotions and improve your moods. Our list is as follows:
1. a little sketch
2. a handwritten note
3. something made of paper
4. something from a gumball machine
5. something from your purse/wallet/pocket
6. something store bought for around $5
7. something to eat
8. something from the basement
9. a hand-made ornament
10. something to wear
11. treasure map/list of clues with a present at the end
12. something Christmas themed
13. something store bought for $20
14. a promise
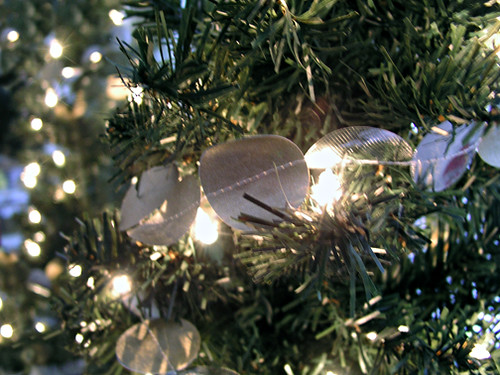
My first day was something made of paper, so I made a garland to put on our Christmas tree and Matt hung it up already. I liked it so much I decided to make a quick little tutorial.
All you need is:
-a paper punch (I used circular, but you could definitely be creative and use other shapes)
-a sewing machine
-some paper.
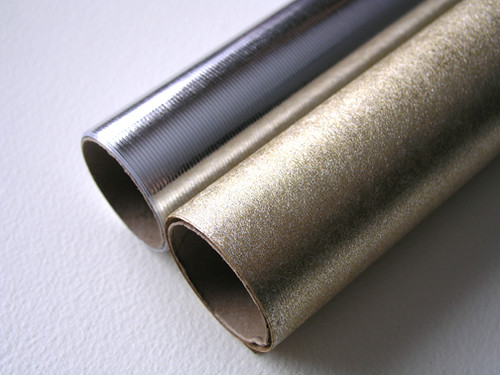
I had the idea that I wanted my garland to be metallic gold and silver because I thought it would look pretty with white lights on the tree. At first I was going to go to the craft store and just buy some scrapbooking paper, but then I saw these rolls of a 60 lb. wrapping paper at Target, so I used them instead.
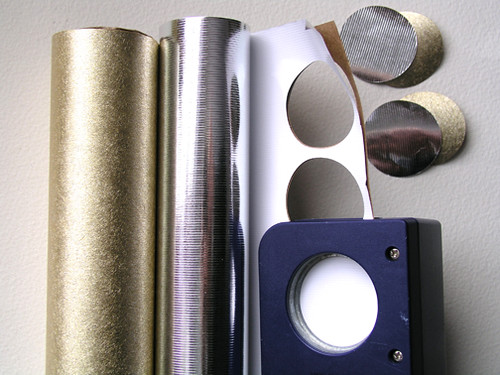
I layered the paper, one on top of the other, so that I could make multiple punches at once.
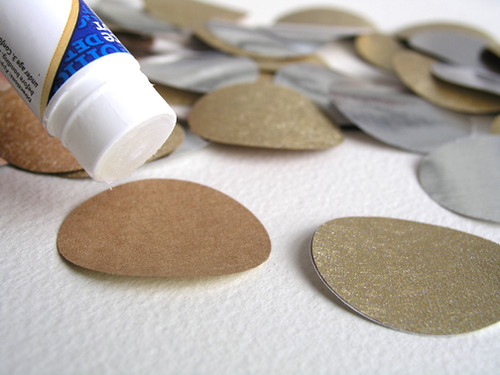
I used a quick dab of gluestick to adhere them, back to back. One side is silver and the other is gold. This just helped feed them through the machine, rather than if they were two loose pieces.
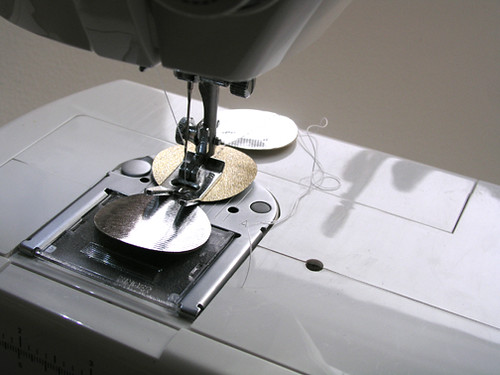
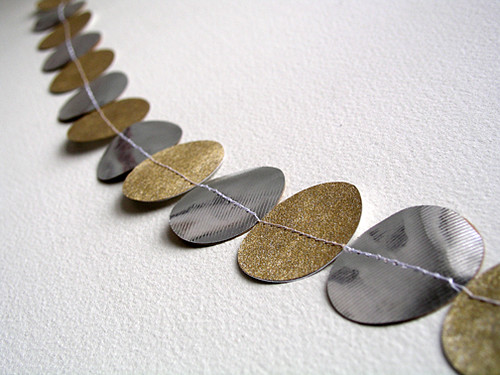
I pulled about 8-10 inches of thread out before beginning, as a leading for the garland. This will allow you to wrap it around a branch before the actual garland begins. Don’t forget to set your stiches further apart, so that you don’t perforate your paper into two pieces. Then just start feeding the circles under the needle. I alternated silver side up, then gold side up, but it doesn’t really matter because they turn all around when you hang it anyway.
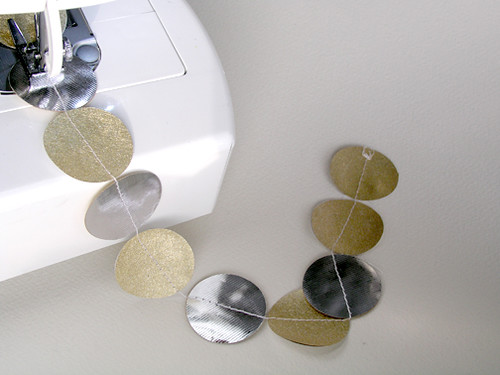
Continue feeding one after another until you get the desired length.
Update: I also sell these garlands in my etsy store if you’d like one, but would rather not make it yourself.
Love it! This would be pretty to do in purple and pink for our Advent tree. I’ll have to remember this for next year. :)
i saw that box at target! tempting.
i also saw these at West Elm and was wondering how to make them. but i don’t know how to sew :(
I really enjoyed the blog post. It proved to be Very helpful to me and I am sure to all the commenters here! It’s always nice when people forward there comments, but also entertained! I’m sure you had fun writing this blog post.
I love your list of things to “put” in the boxes. The garland is really cool also.