

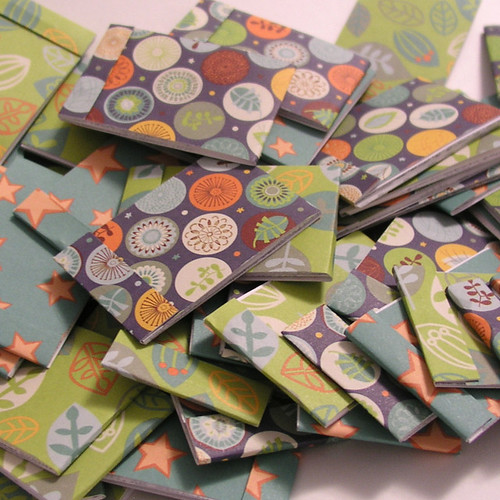
Today I assembled these little matchbook styled scrap-pads to add to my purchase packs that go out with every order. I used to have these quarter sized recycled scratch pads, but when I ran out I got the idea to revamp the plan and make matchbook styled scrap pads. And you know me, whenever there is an option, always go miniature!
While I was making them I thought it would be pretty easy to take a few snapshots and put together a little tutorial on making these easy-peasy pads. They are still made from recycled, hence the “scrap-pads”.
The materials are basic things everyone has in their home. Scrap paper, scissors or paper cutter, and stapler. If you’re feeling like getting tricked out, grab a ruler, glue stick and bone folder.

The paper size is 1/16th of an 8.5×11, meaning I halved, halved, halved and halved again, if you can keep that straight. Otherwise it’s 1.0625″ x 1.375″. That’s not based on real matchbooks, but just in the ease in halving over and over again. For the cover I just grabbed some 12×12 scrapbook paper, but you could also use any pretty paper you have lying around. I think I’ll use paper from old books for my next batch, then they will be truly recycled (aside from the new staple). I cut the scrapaper down to strips roughly the same width as the halved paper (1.0625″).
1. I used the halved paper in stacks of 10 since that seemed to be how much my stapler could handle. Placed my stack of paper face up with the decorative paper face down and stapled them together like shown in picture 1.
2. Slightly above the staple, I fold the paper back down. You should be able to see the decorative side of the paper now, like in picture 2. This way you can hide the staple.
3. Continue wrapping the paper around the back, creasing the folds, like in picture 3.
4. Now fold over the top, from behind to front, like in picture 4.
5. Carefully trim the decorative paper so that once trimmed the edge fits under the flap from the bottom as seen in picture 5.
6. Voila! You have a handy-dandy snazzy easy-peasy pretty scrap pad.
Use the bone folder to crease and fold and the glue stick to glue the back page to the back cover, if you like.
Throw a couple in your purse so that when your frantically riffling through your purse looking for a piece of paper to write down a phone number on, or to throw away the gum you’ve been chewing on for eternity, you are golden. I took mine a tiny step further and put my personal stamp on the inside cover, as seen in the first image. You could go to whatever lengths you want to gussy them up. They are fun to make, quick, cute AND functional.
Making these I was reminded that the Artomat machine at KCH has a “matchbook” slot, where a book would have dropped with every pack of cigarettes. I wonder if books like these would work in that machine. It would be a cool project for the students there to make their own “art matchbooks” that would drop with each Artomat sale.
Very cute. Thanks for the tut. I think I’m going to make these with my craft club kiddoes.
What a great idea – thank you!
Hello mates, how is all, and what you desire to say regarding
this post, in my view its in fact remarkable for me.