
For around 15 years I have been hand-cutting (with scissors) all of the recycled and assorted (and then) gelli printed envelopes that I offer in my etsy shop. It’s very exciting and a WONDERFUL problem to have, but my stationery sets have been taking off and it’s been harder and harder to keep my envelope inventory up.
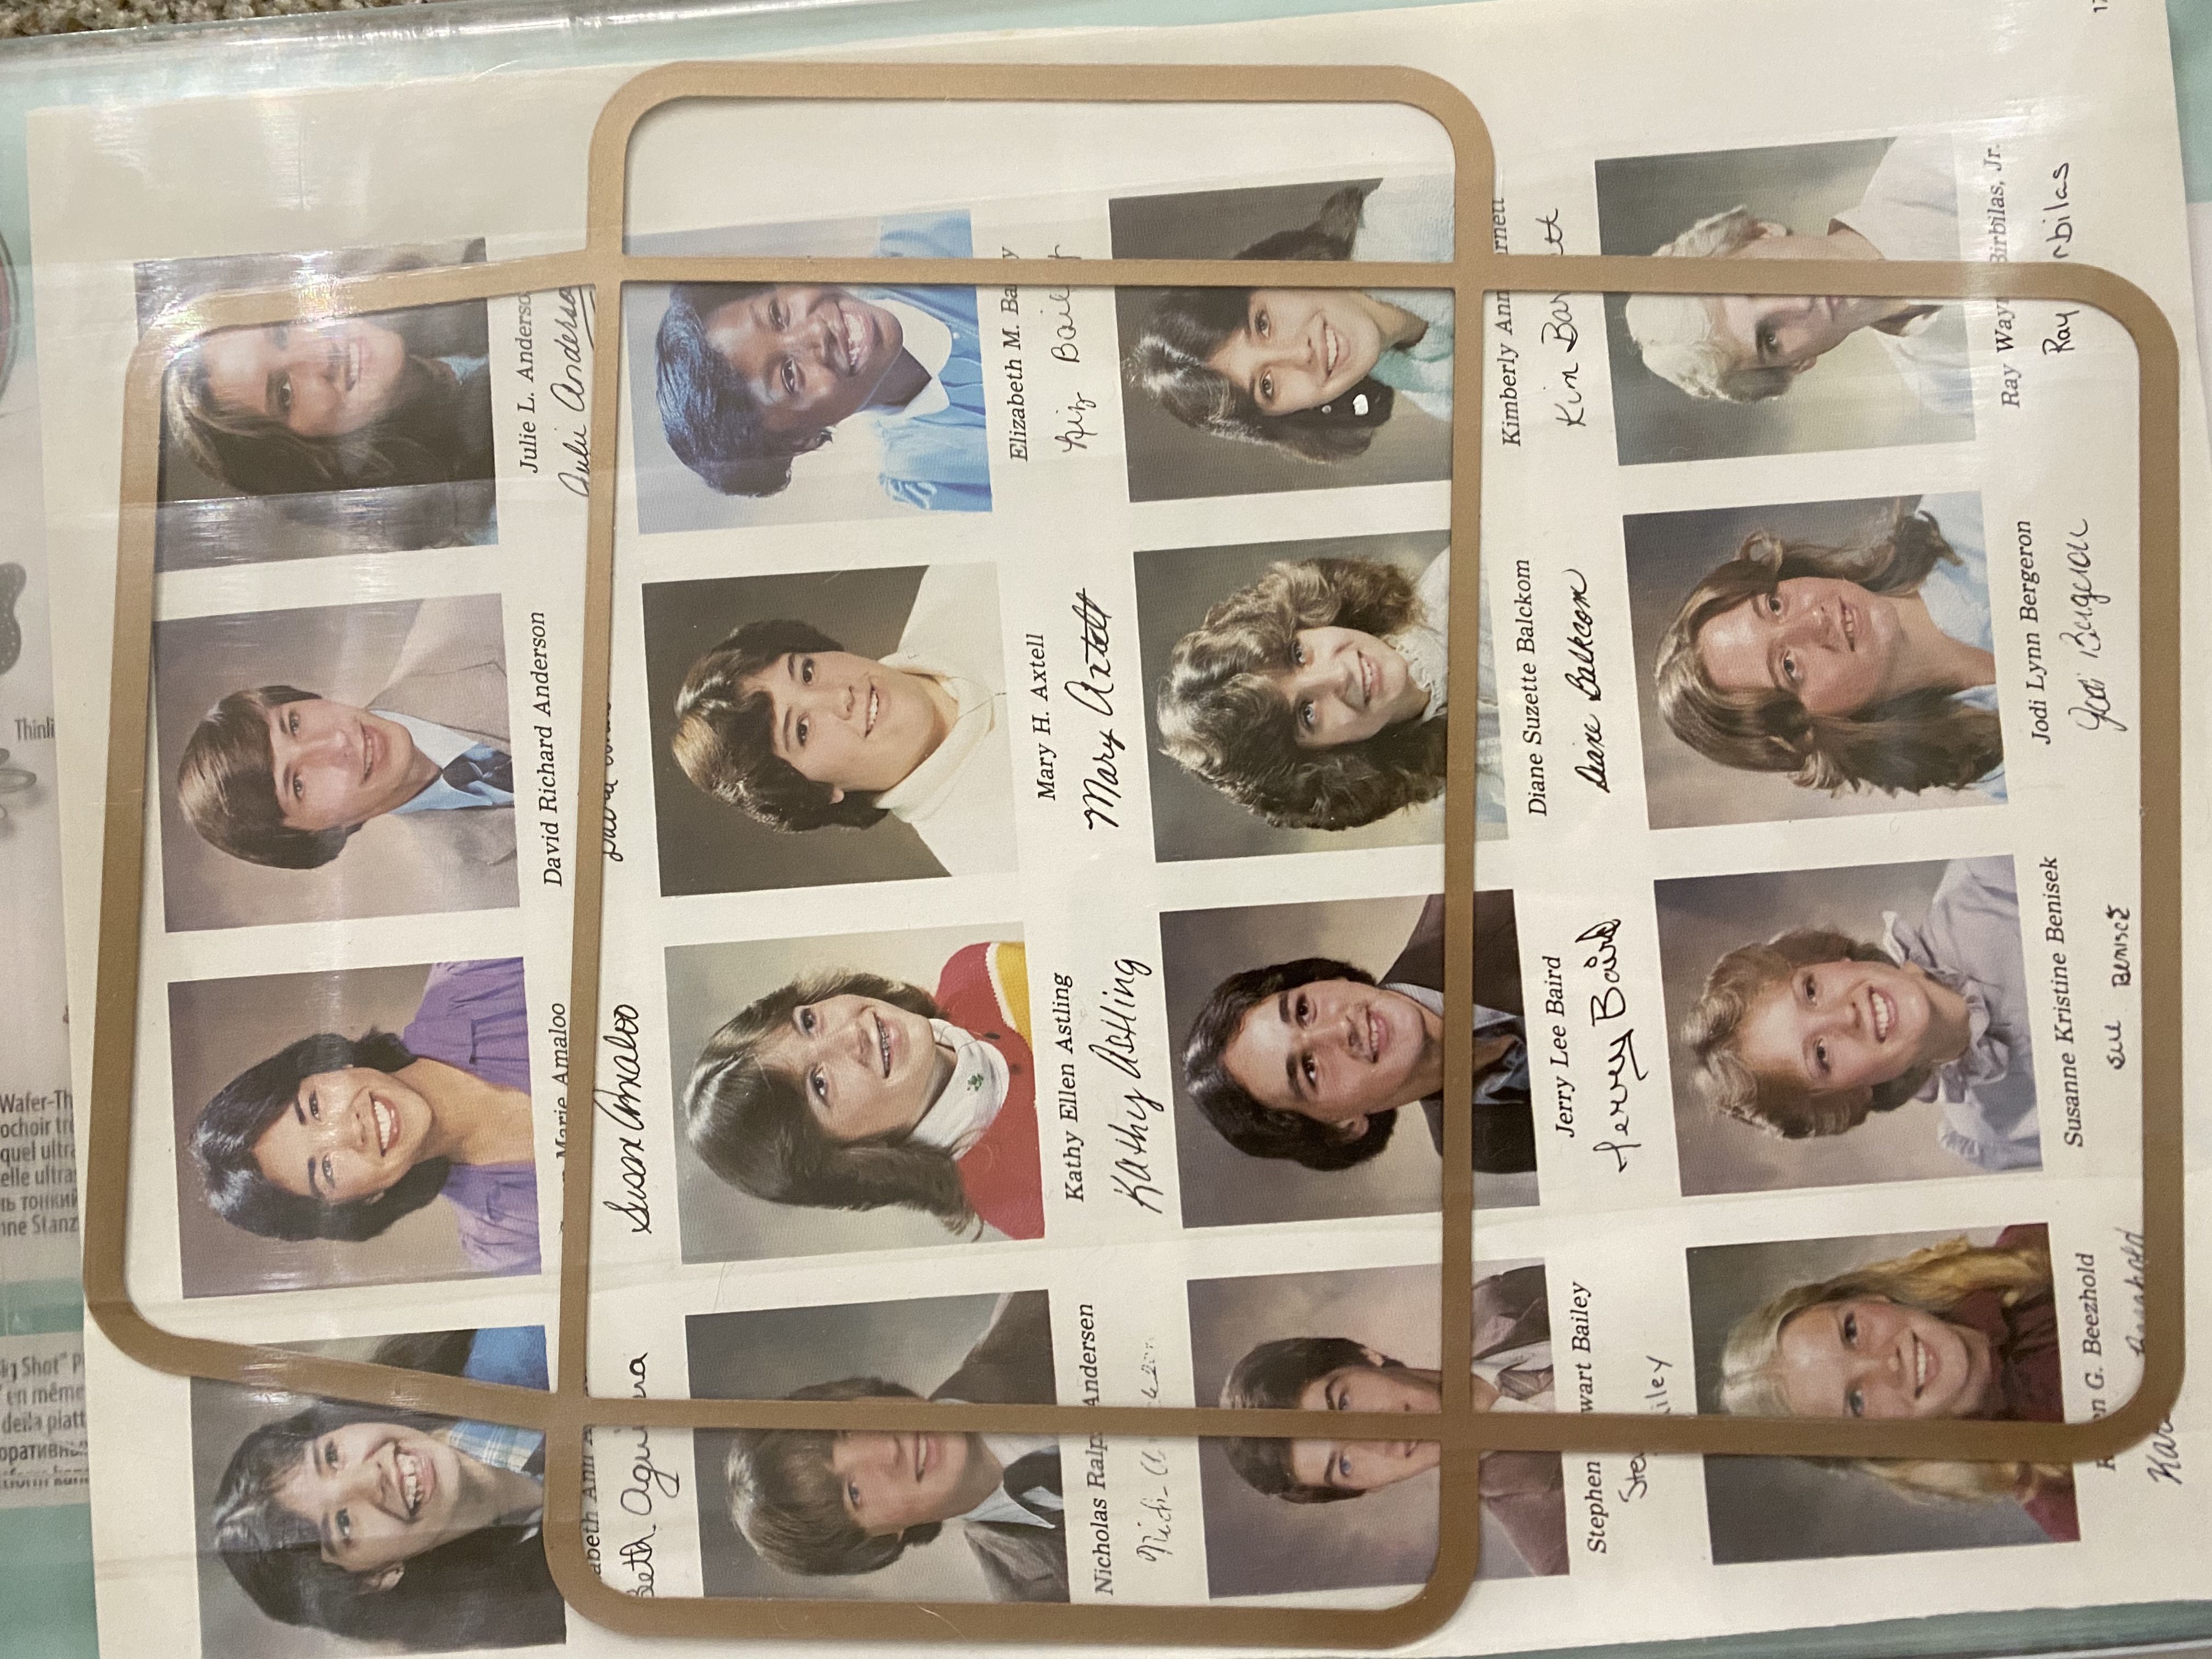

At my 9-5 job at a printing company, we will occasionally have customers that require die-cutting that we have to out-source, so I’m somewhat familiar with the process. I have thought of being able to bring in big stacks of my paper to a die cutter and have them mass cut the envelopes for me, but know it is just a dream because 1. I’d need to provide them with the papers in a uniform size, and since I am often using papers from a variety of recycled sources, they come in different shapes and sizes and 2. I almost always fussy cut every envelope to make each folded down envelope look its best.

In January, I decided to level up my envelope game and bought an XL Sizzix die cutting machine. I know CriCut seems to be all the rage lately, but from what I’ve seen, cutting with a Cricut vs a Sizzix would be a lot slower for my needs. I can cut an envelope with the die as fast as my arm can crank. I already have a much smaller Sizzix machine that I use for intaglio printing, seen here.
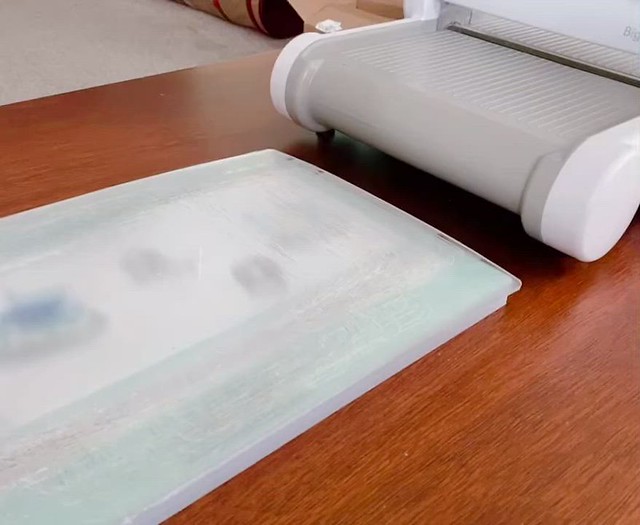
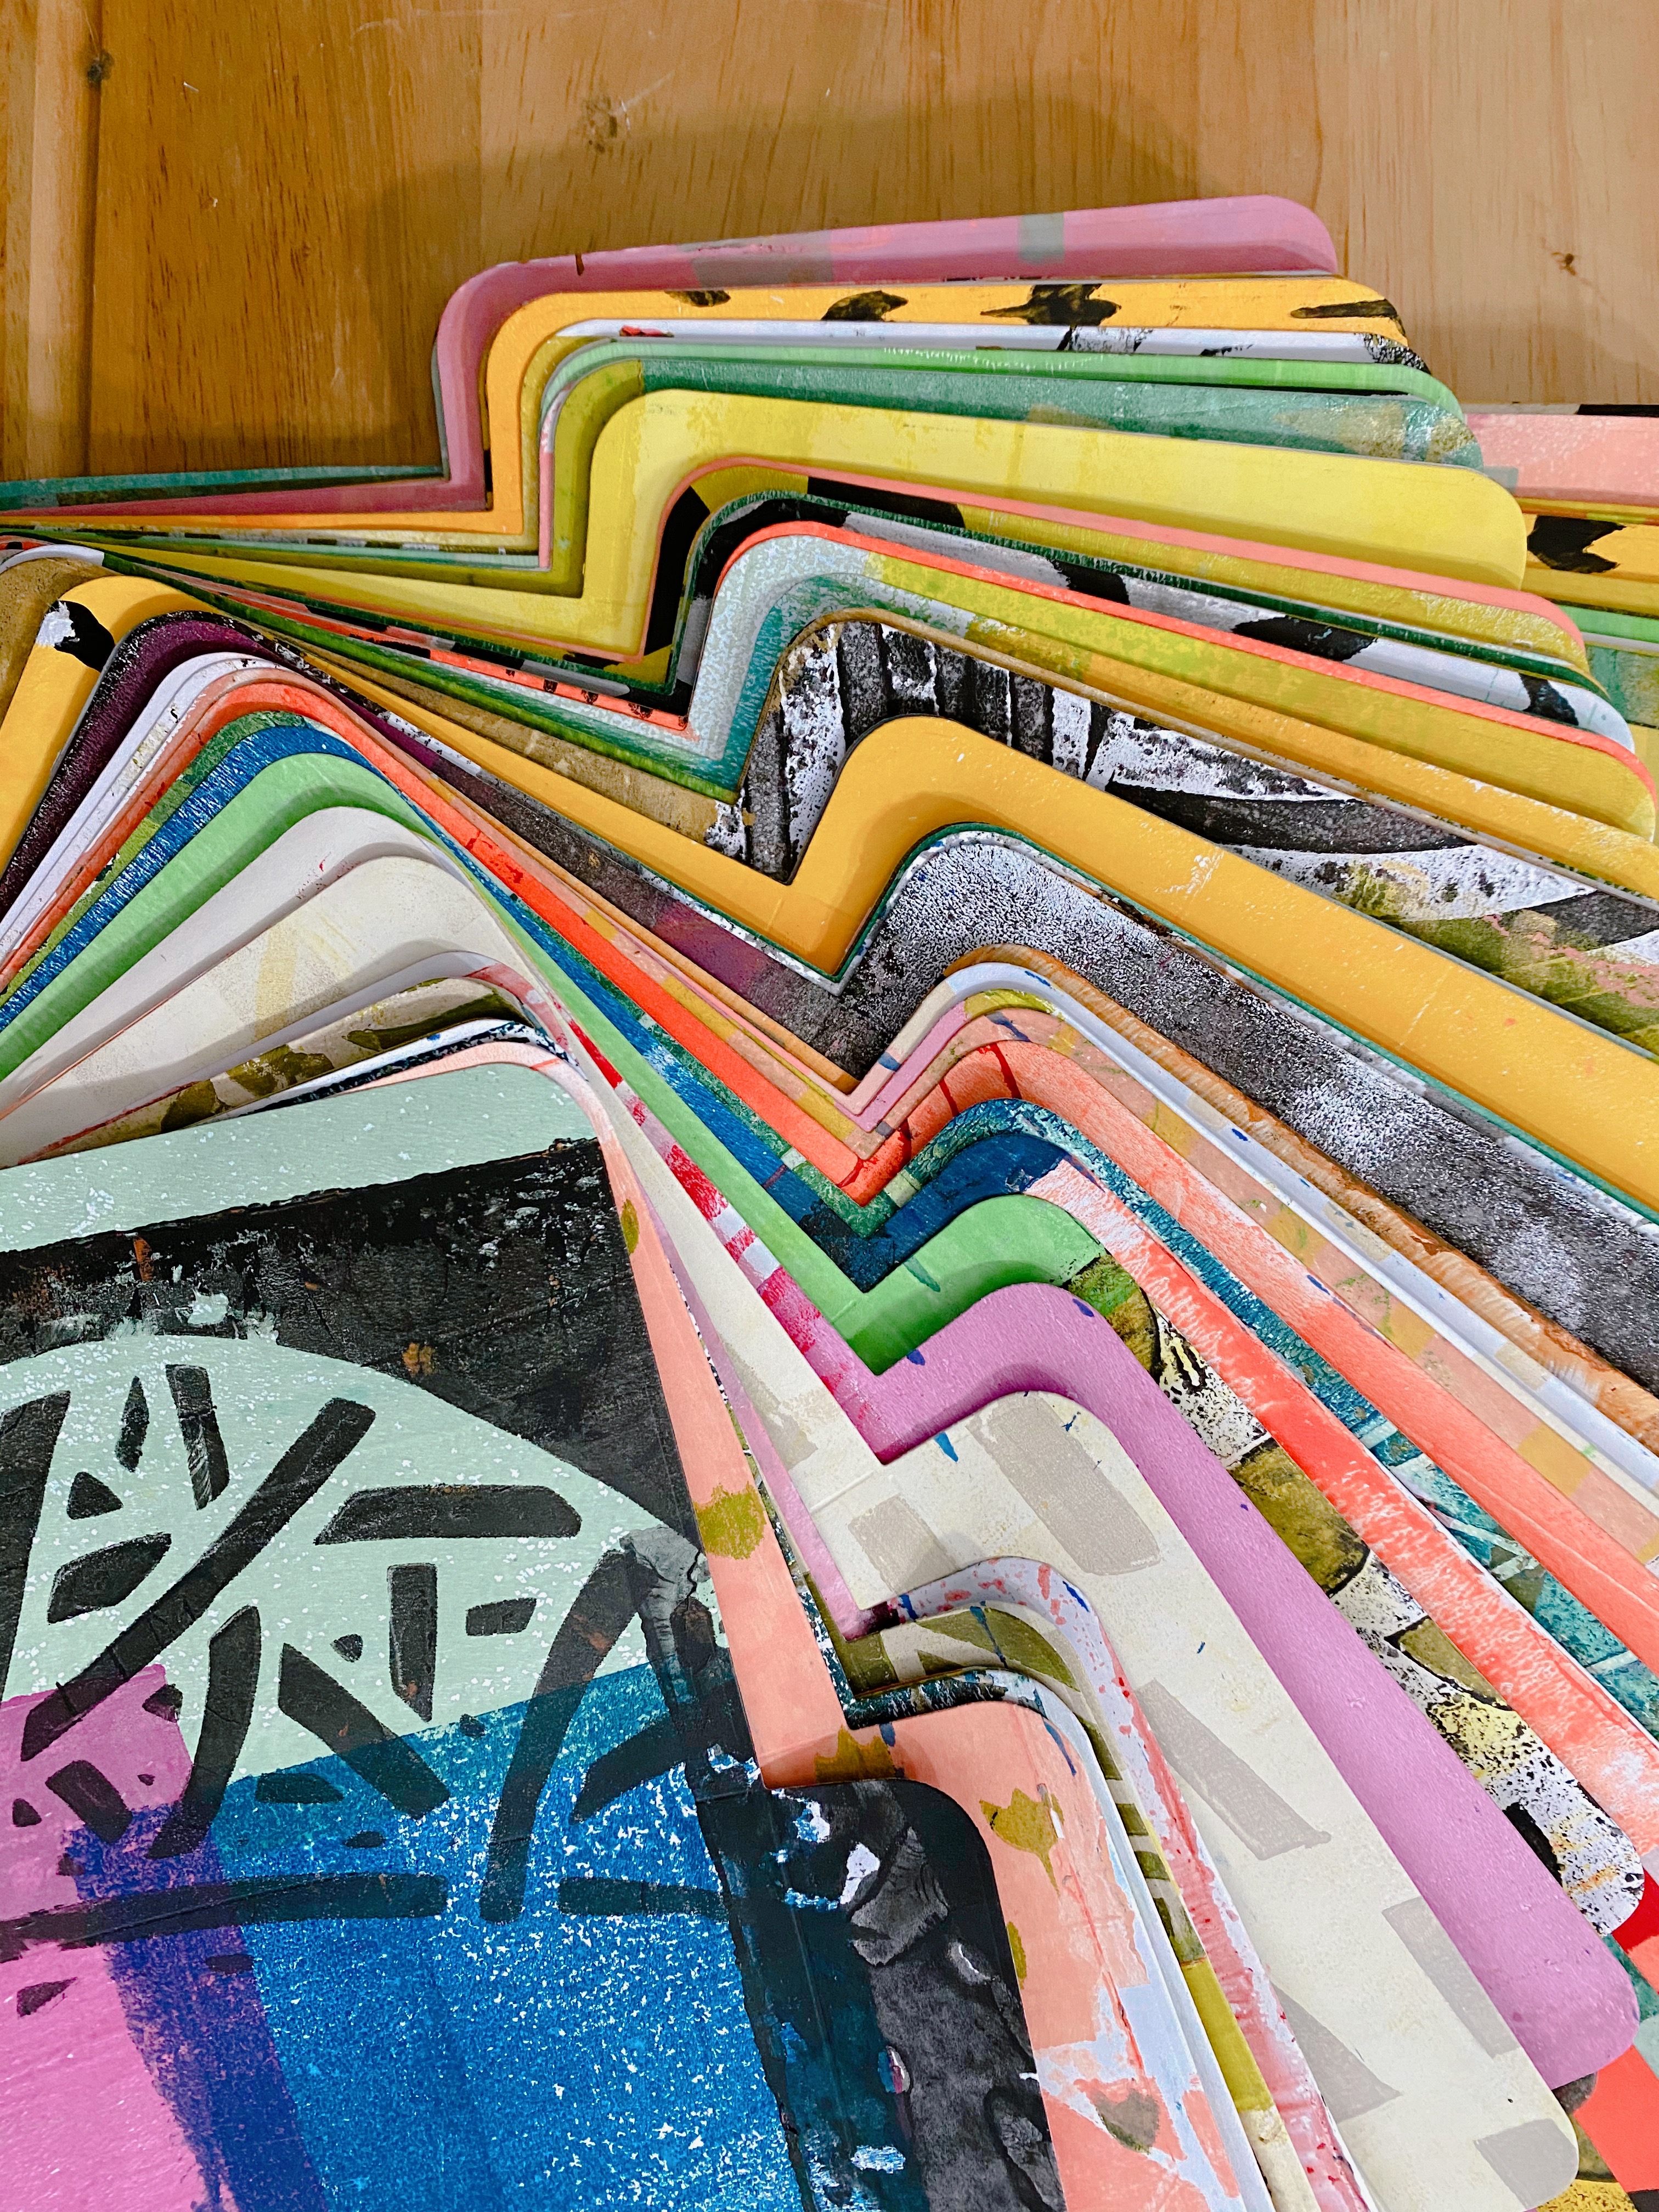
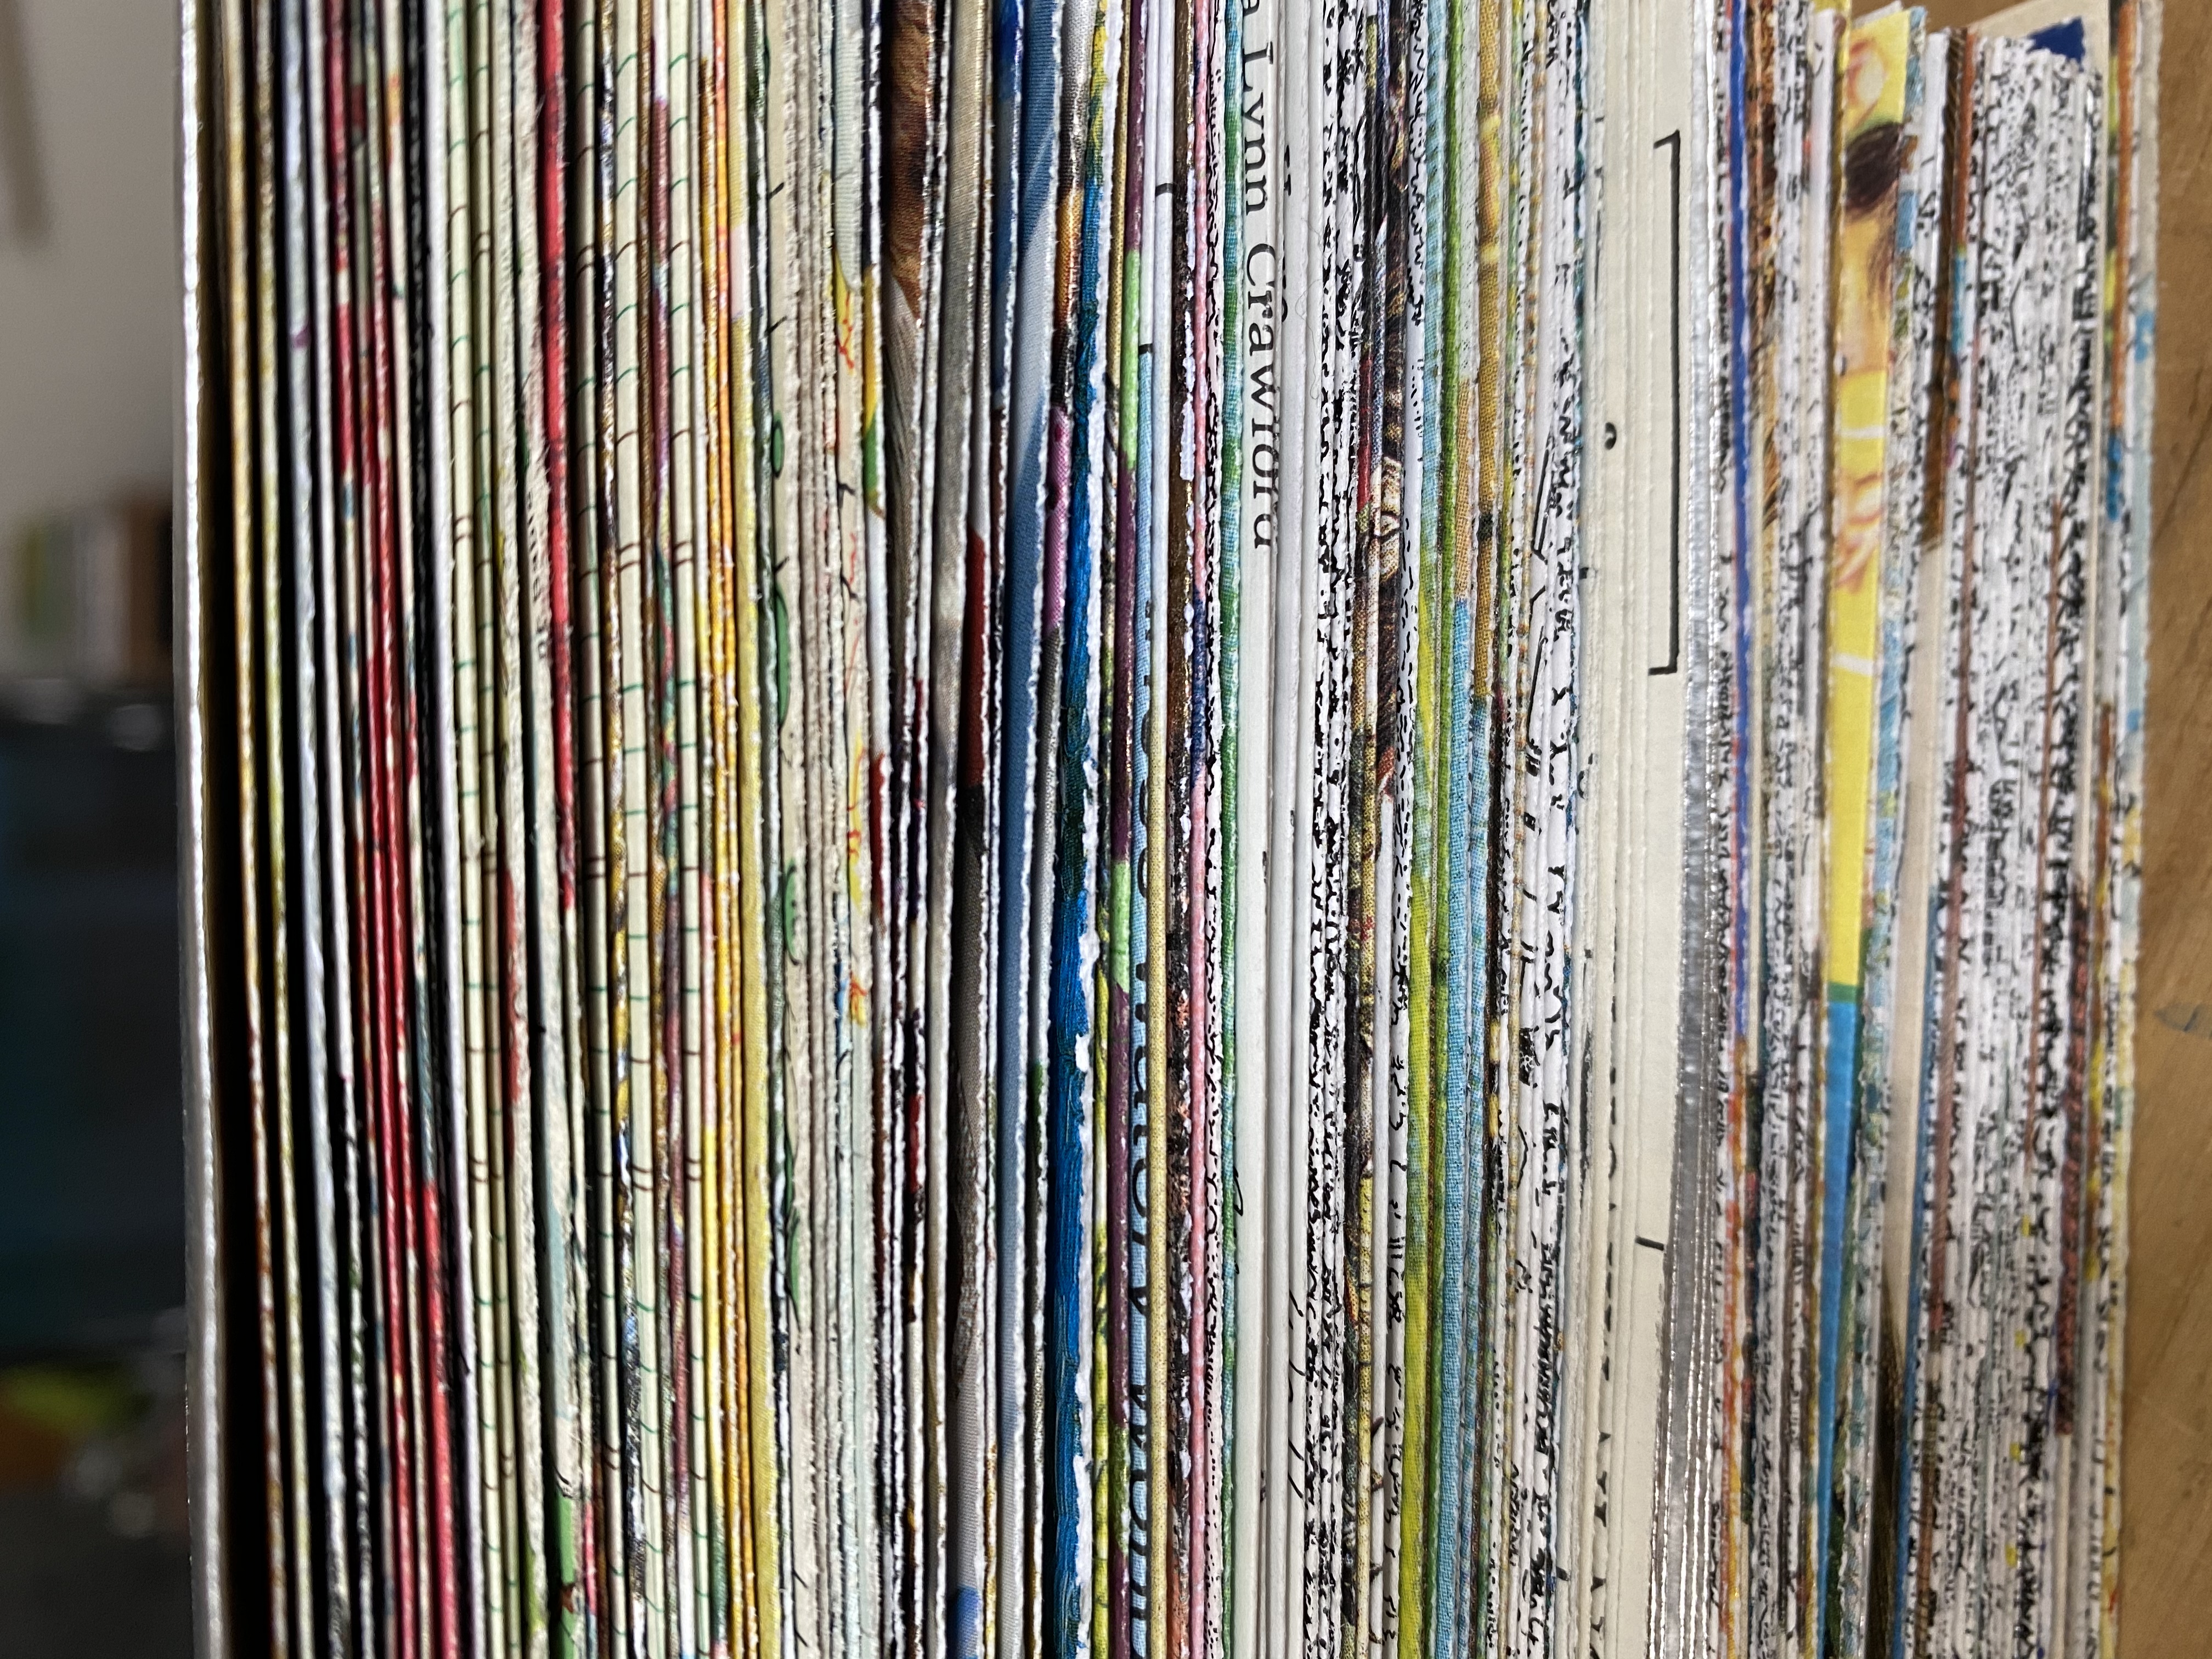
This machine allows me to cut entire flat A2 envelopes uniformly. I was able to purchase a couple of A2 envelope dies that are ok, but not perfect, so I am now attempting to source a custom die that I would design myself. All the same, I am thrilled with the envelopes I’ve been making. It feels SO Good and productive to finally be going through all the stacks of papers I have saved to turn in to envelopes.
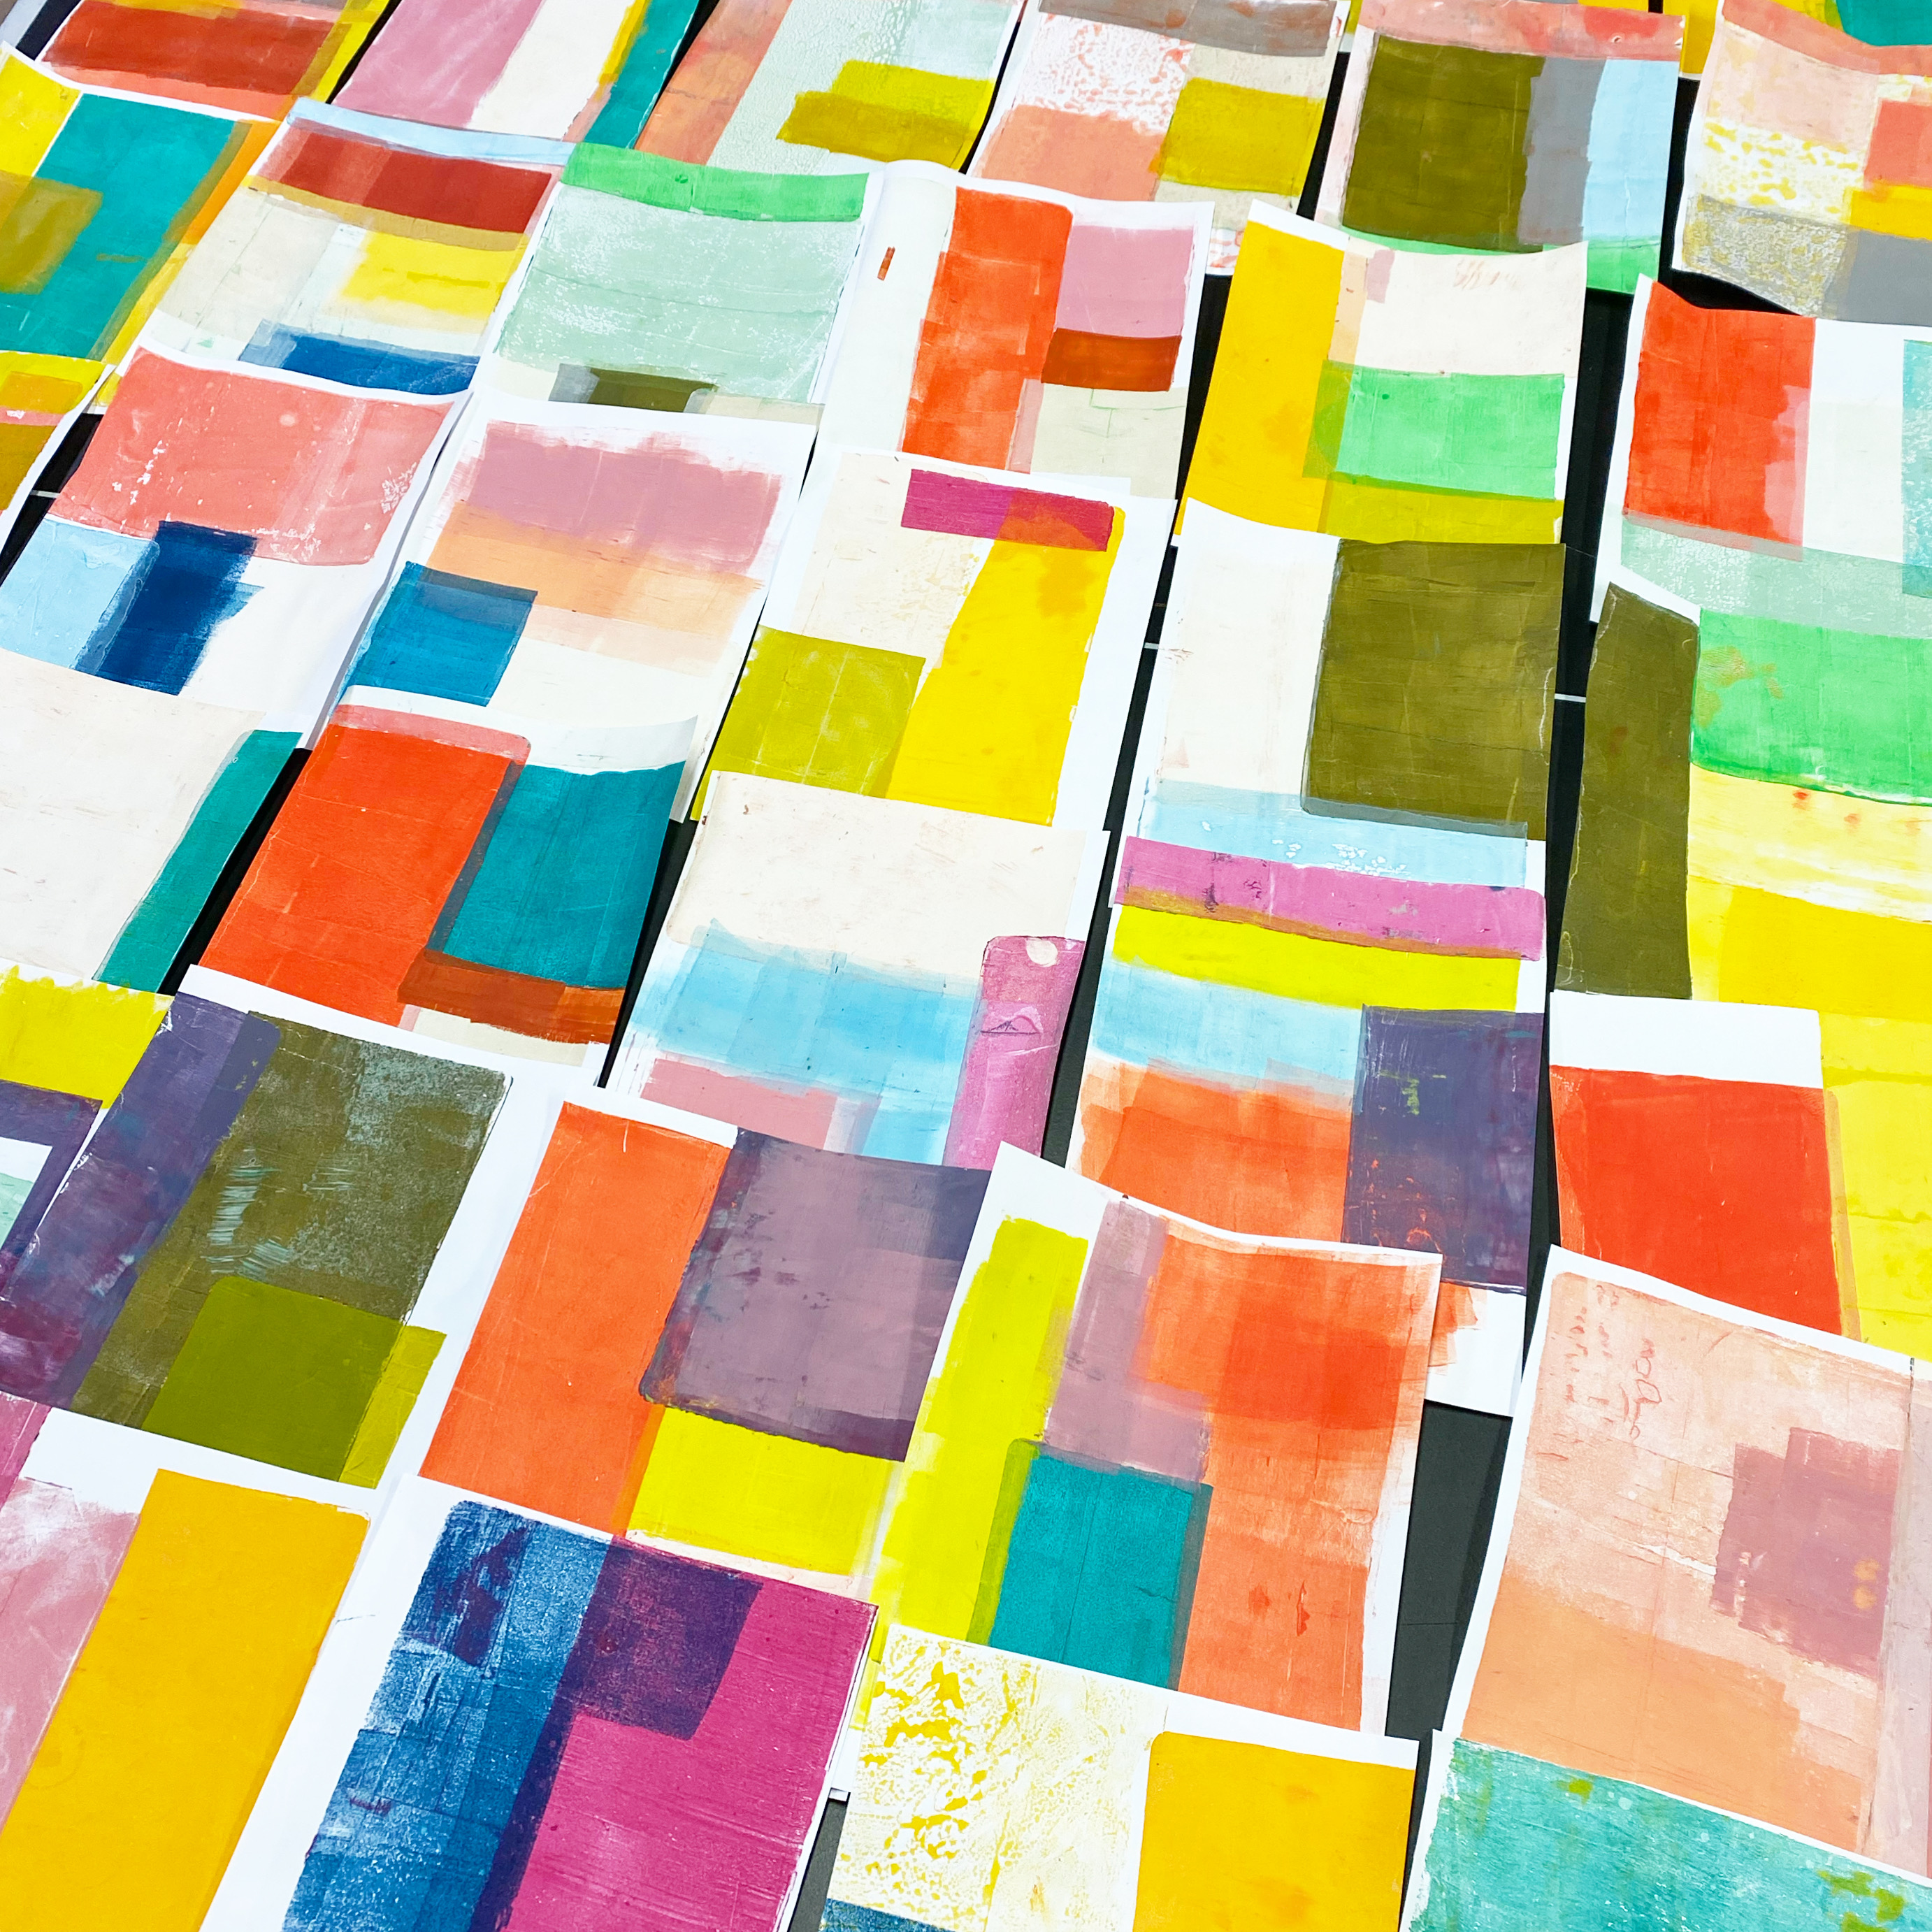
Then last week I made a goal for myself to try and make 100 monotype prints to turn into envelopes in one day. It probably could be done, but comfortably I allowed myself to spill over into a second day.
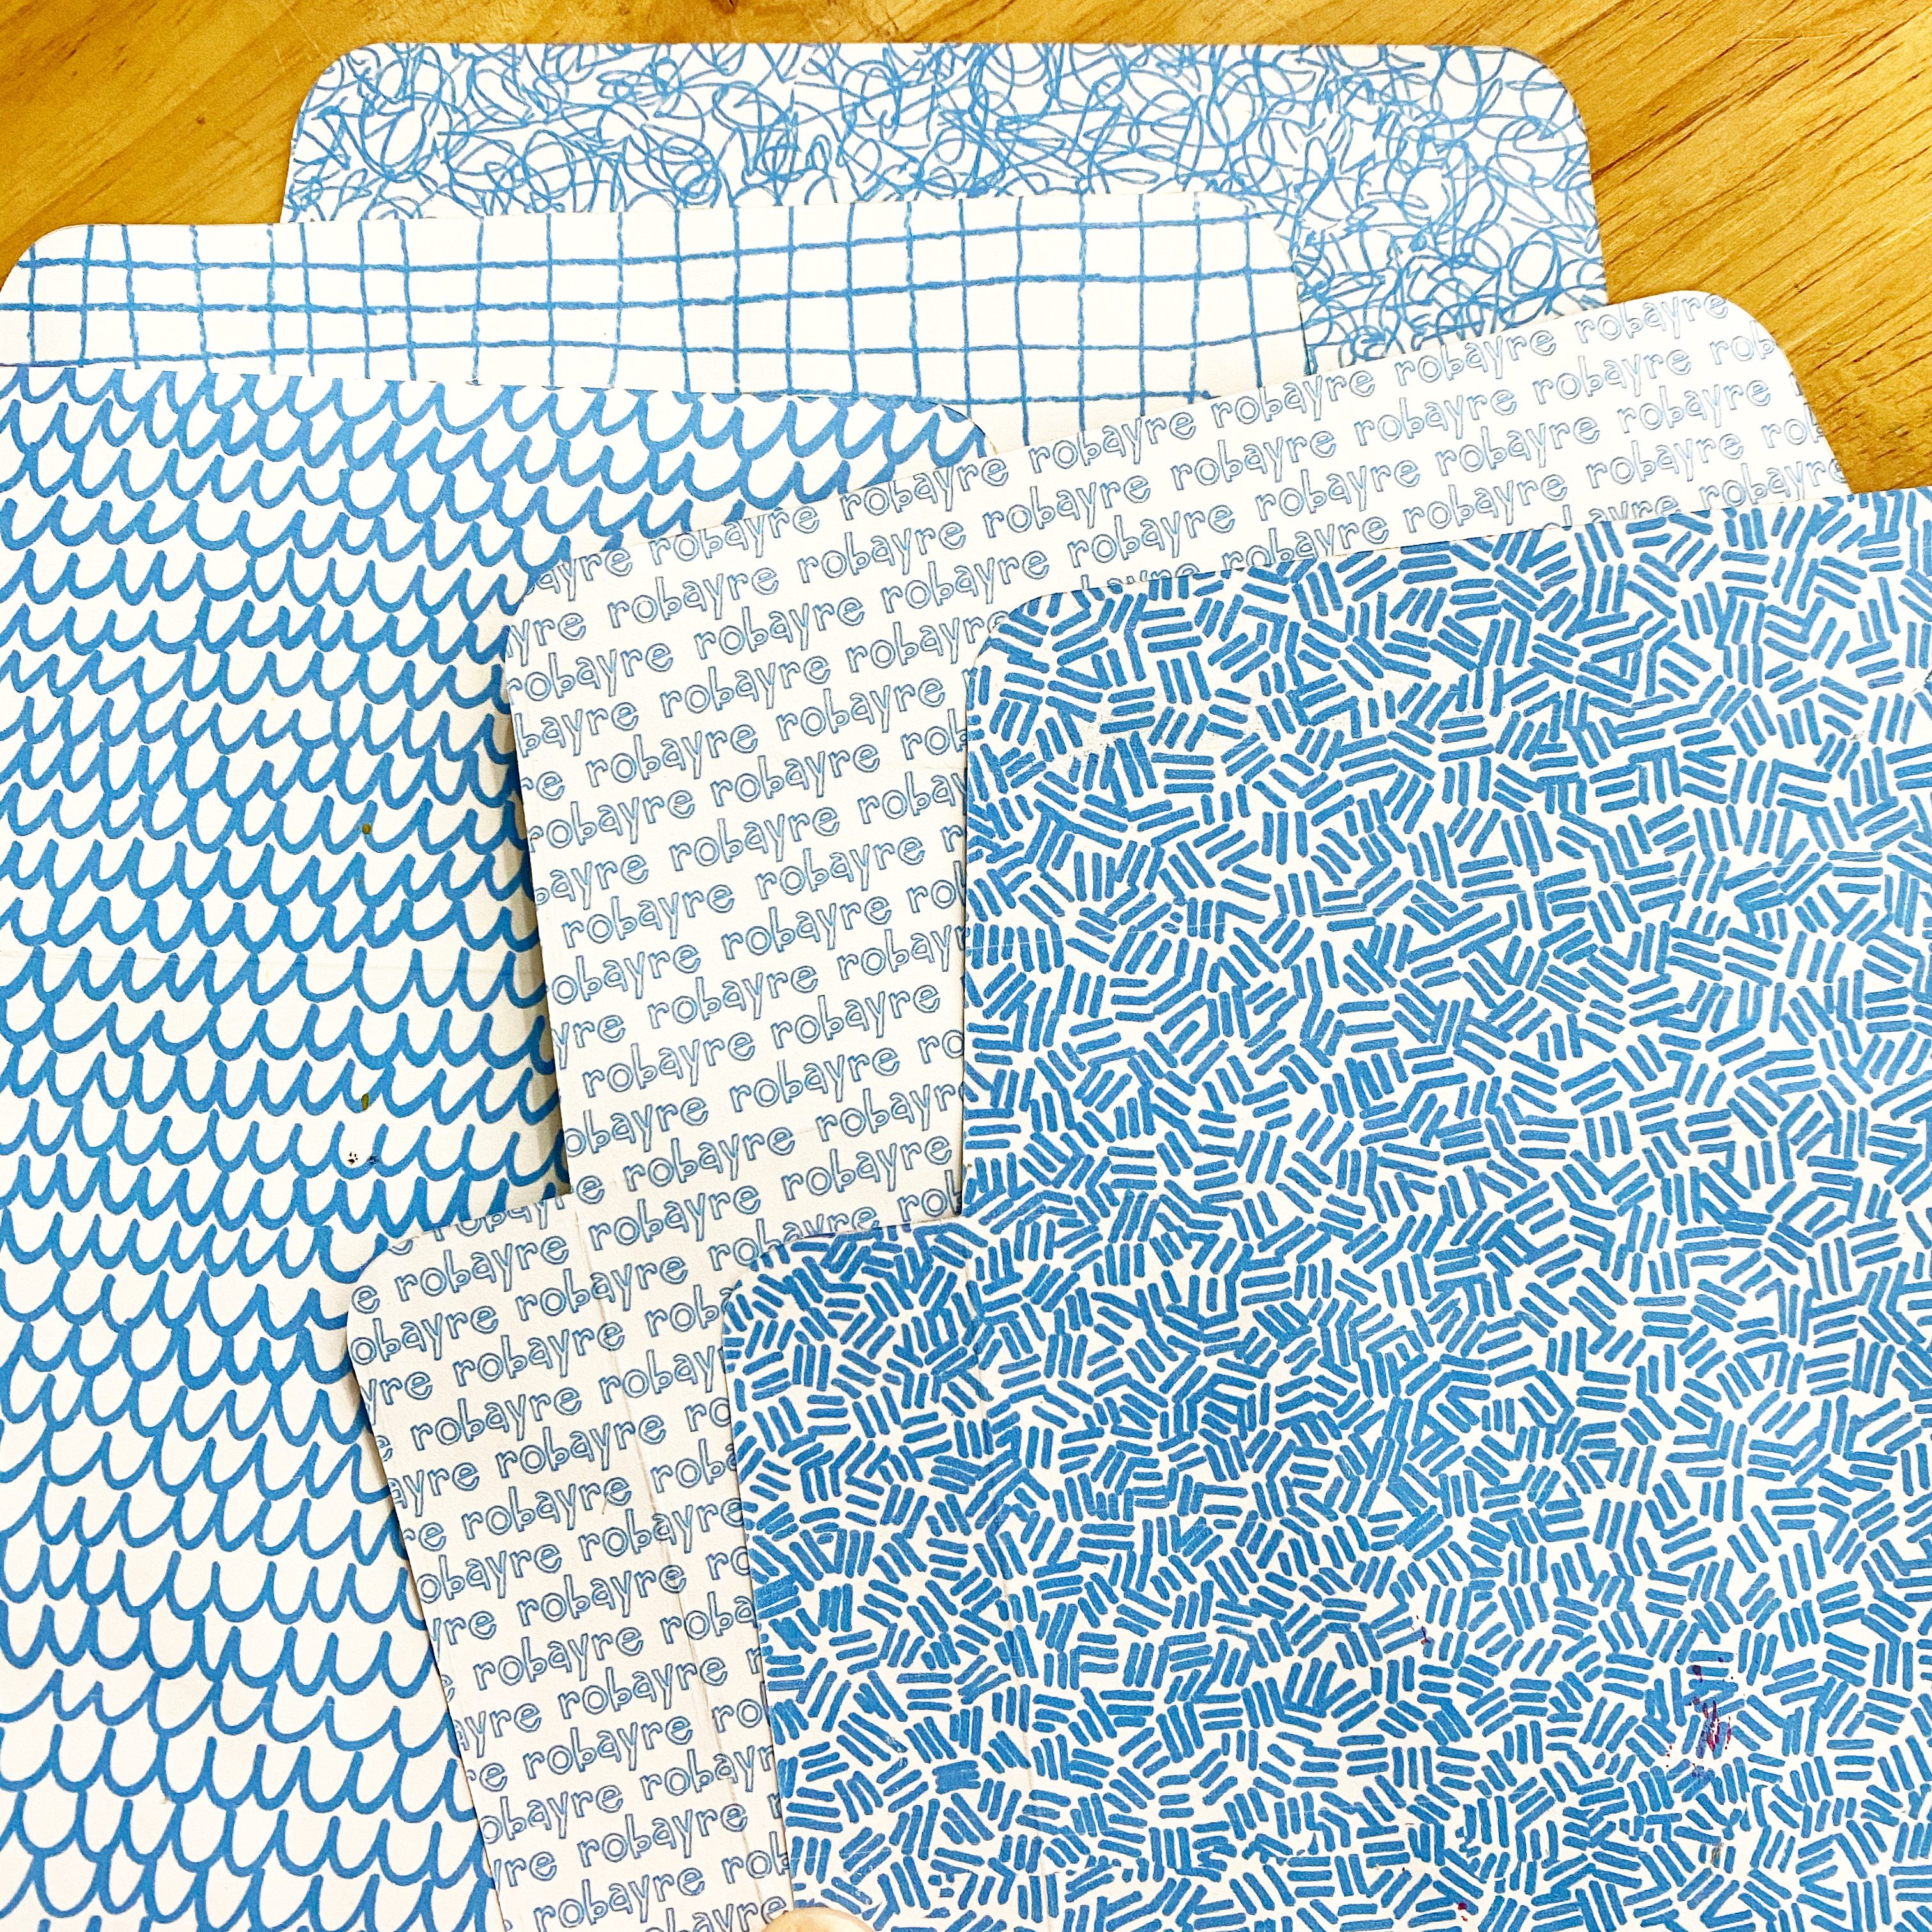
Once they were all done I was so excited to start cutting them using the Sizzix that I got about a quarter of them done before I realized I hadn’t printed the opposite side with my “security” pattern. Fortunately, by some miracle, the already cut envelopes actually fed through the printer. Then I got excited to design a new pattern. I looked through our junk mail and found a hashmark pattern and a logo one, so I decided to make my own version of those.
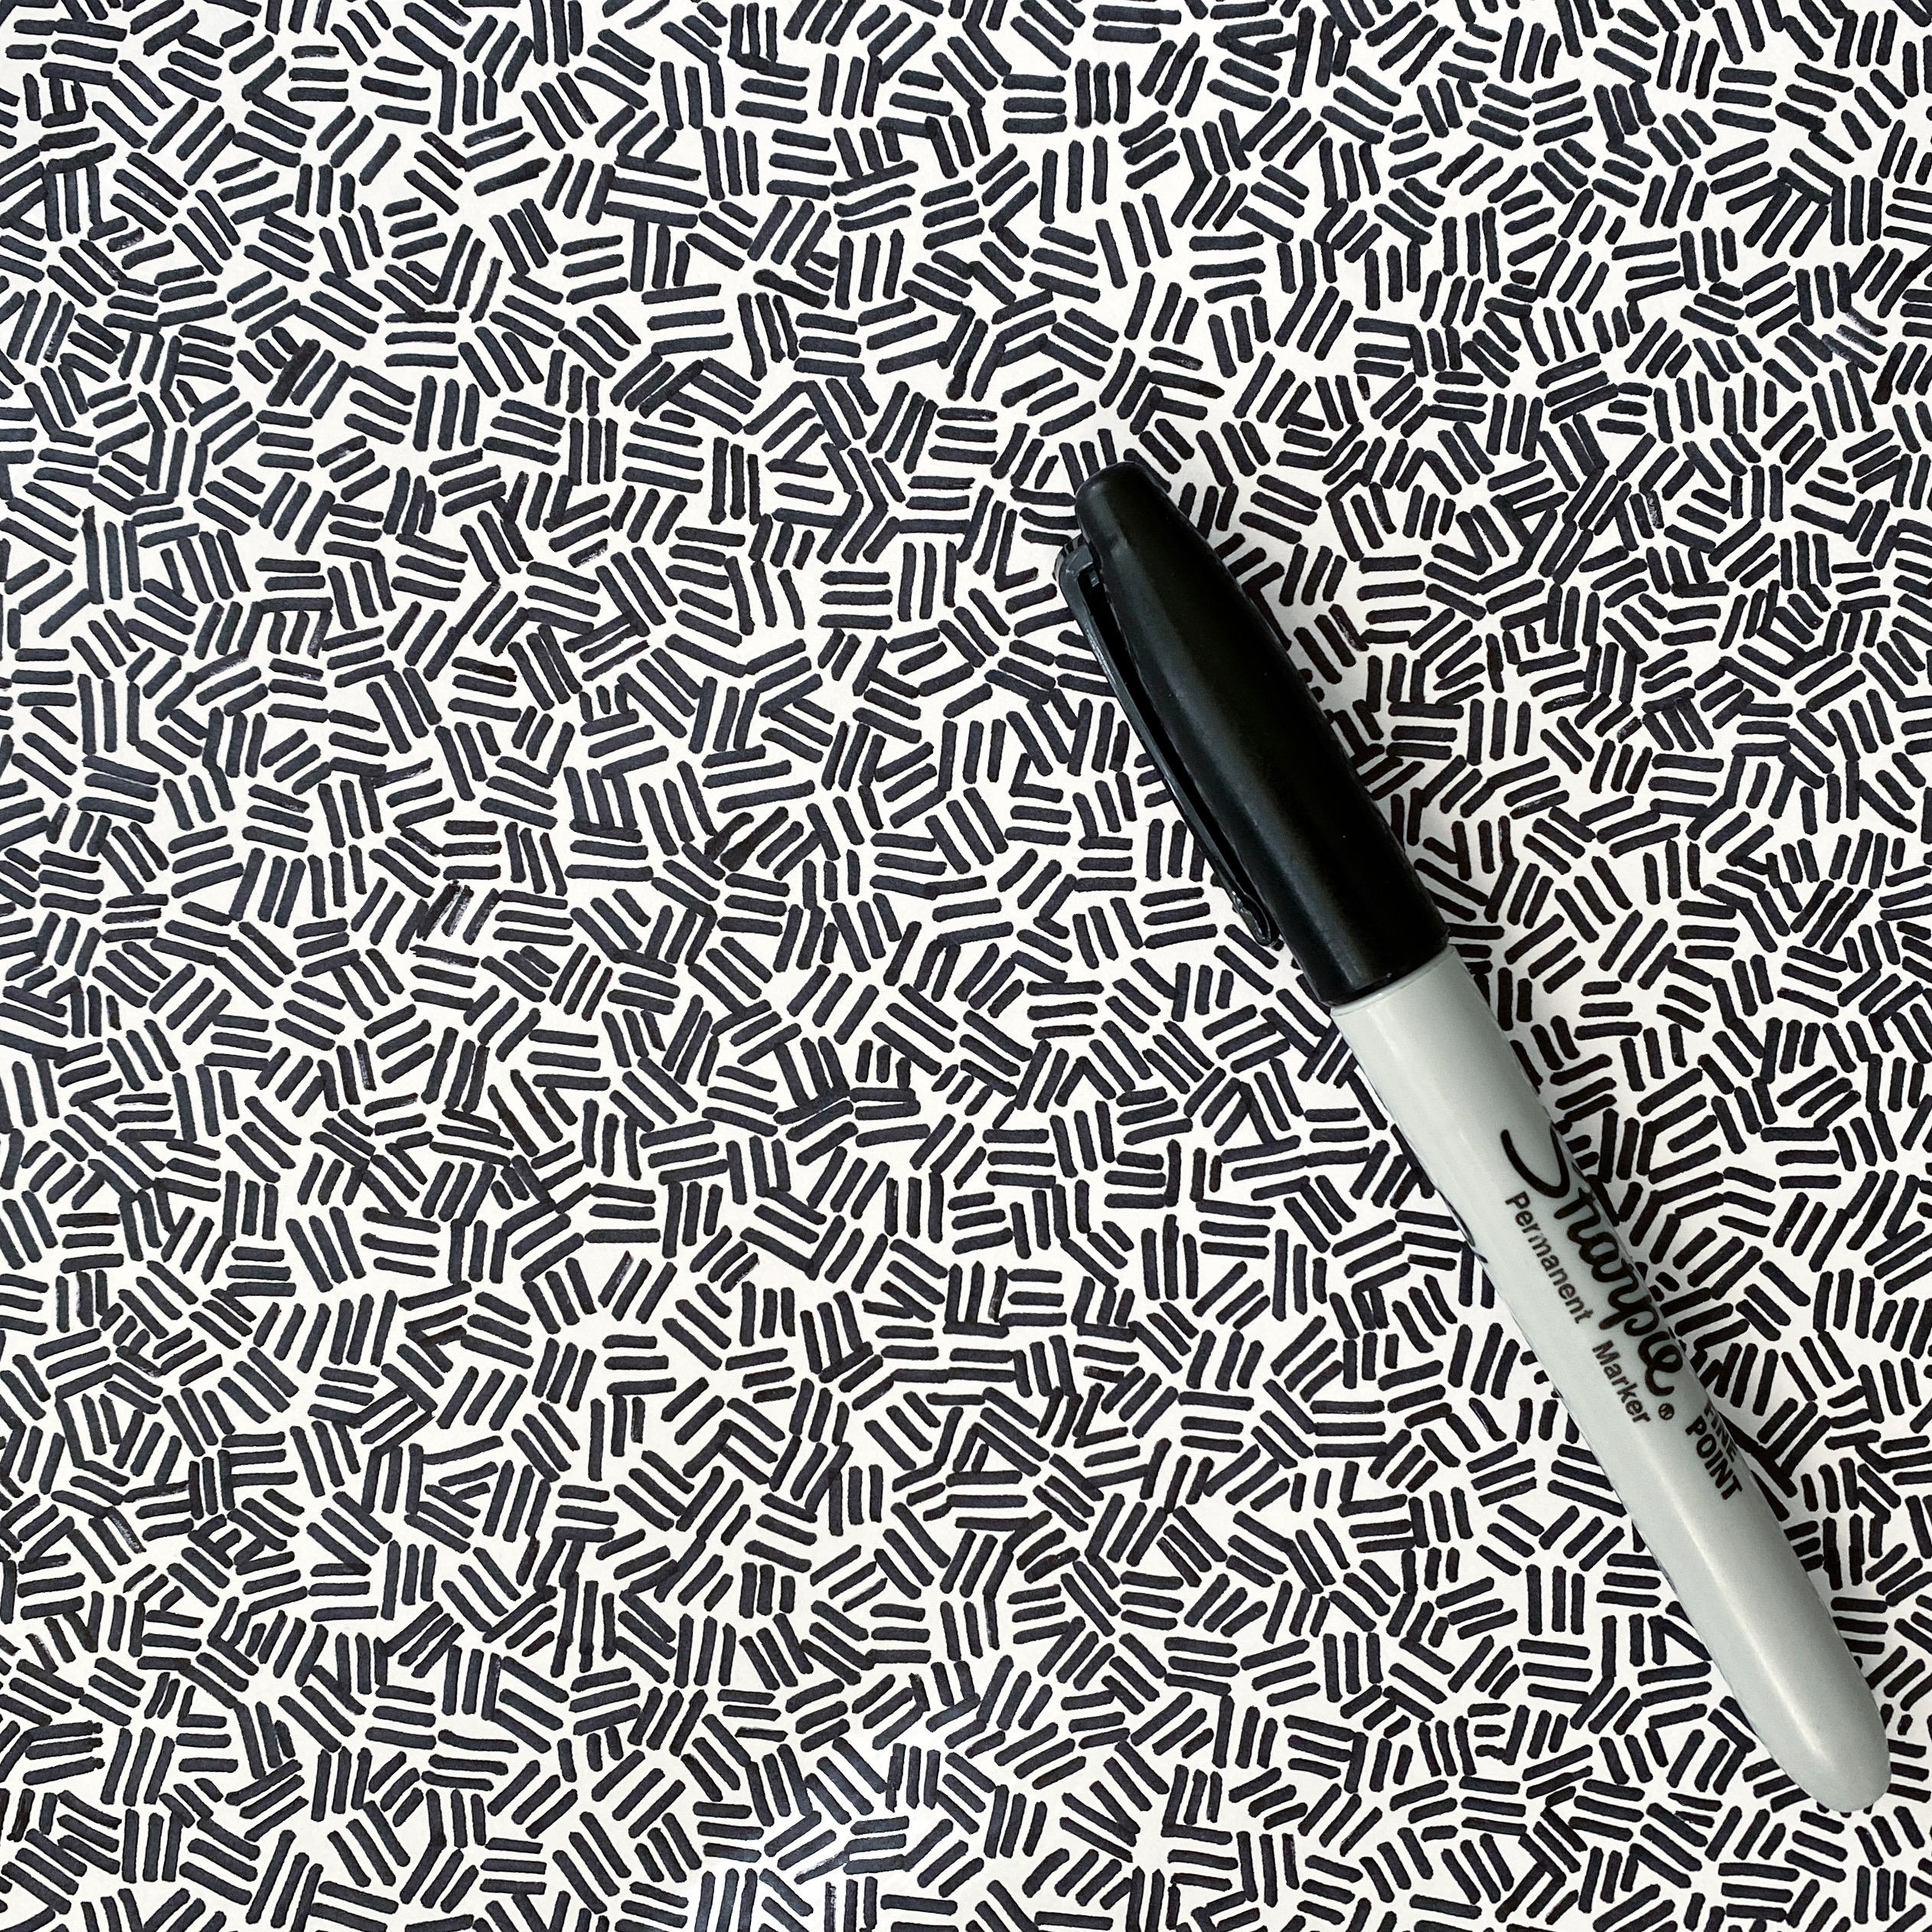
All of my gelatin art print envelopes are printed with a security pattern inside. They don’t really need it, as the paper I use is thick enough and then with the paint layers coating it, there is no worry about transparency. It is more about giving the envelopes a special touch. Sometimes people use envelope inserts to gussy up the inside, but for how much money I can make and sell my envelopes it’s not really worth it, but printing a quick pattern inside is not much extra. I always like the little extra surprises in life (think: when you get an unexpcted malt ball in the bottom of an ice cream cone) and so I hope that the inside patterns make my customers excited to use these envelopes and their correspondents are equally surprised when they open their letters.

What a labor of love, huh?