
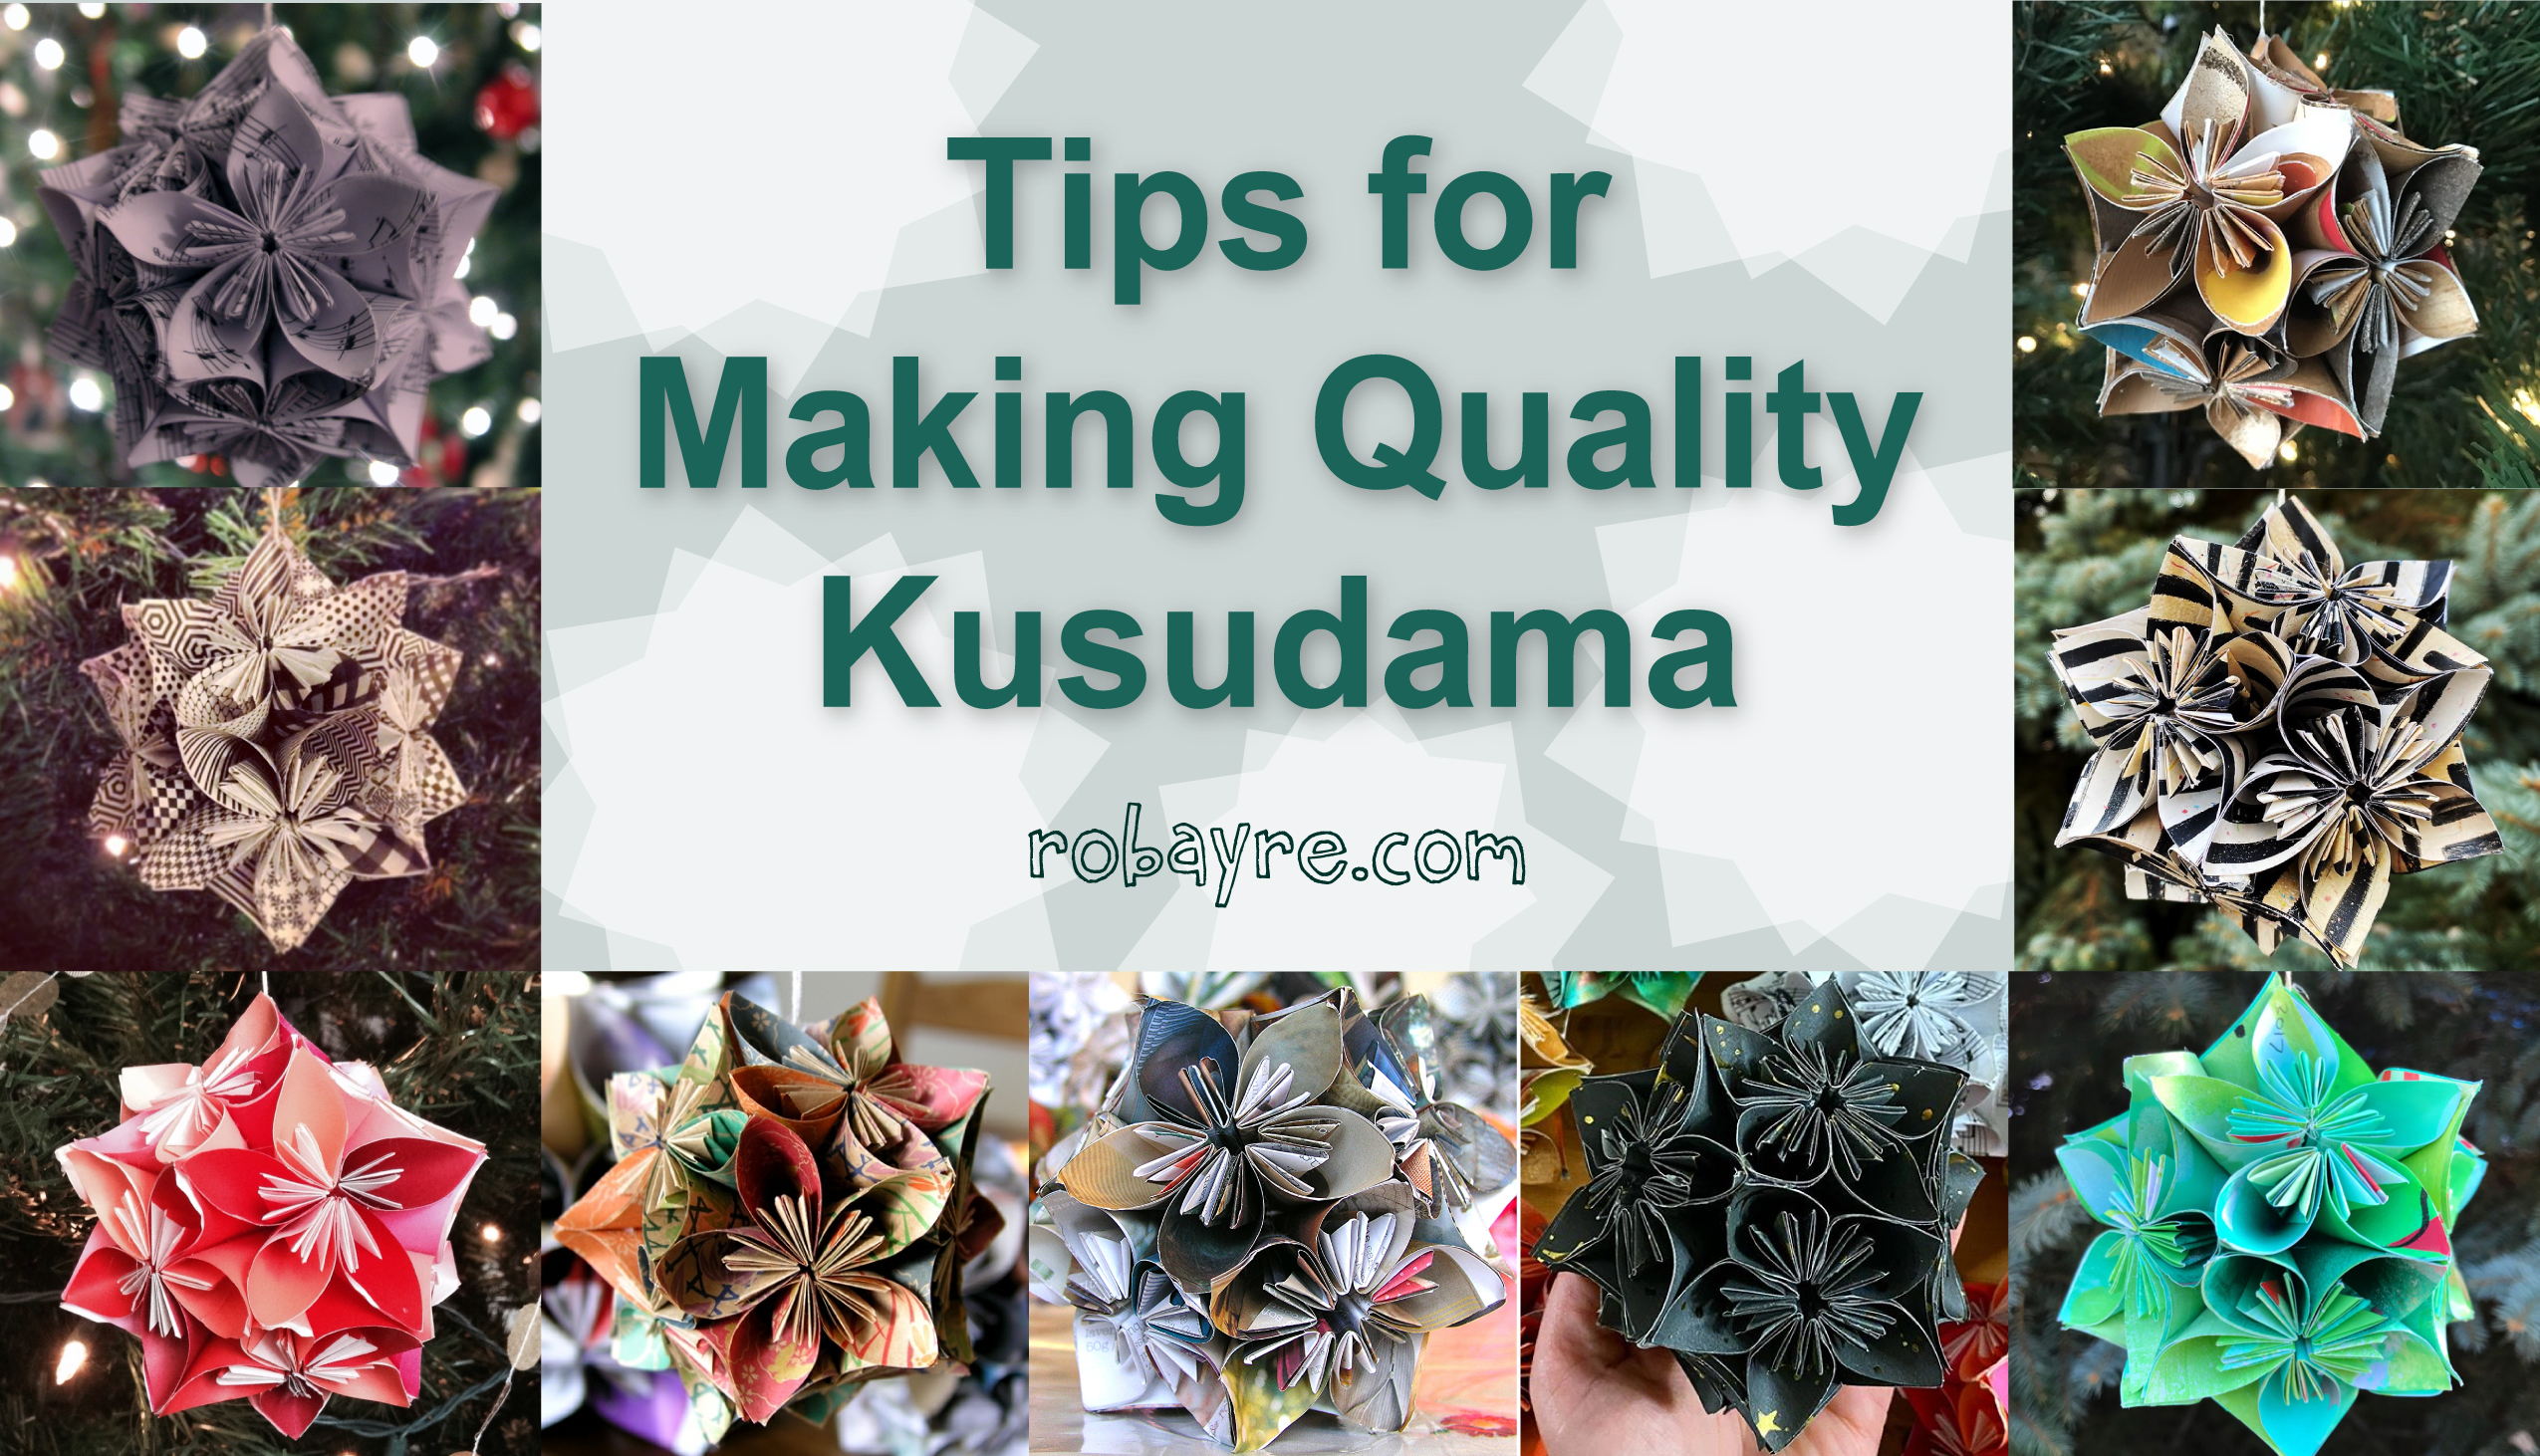
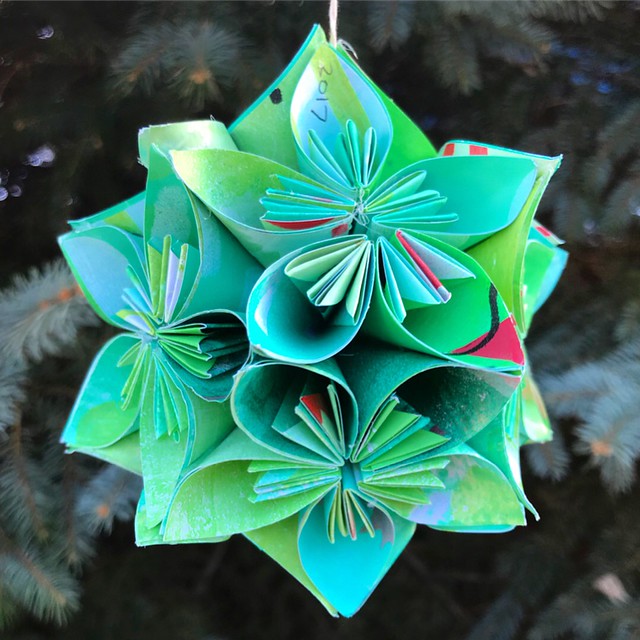
A friend inquired yesterday about how to make one of the kusudama balls that Matt and I make each year for Christmas ornaments. I realized I never shared the ornament we made for Christmas 2017.
I thought I’d pop in again to share the ornament and some quick tips that might help make your ornament go smoother. We’ve done it now for 10 years! Only 7 actually fit on the tree, because I kept having to relearn the same mistake for the first 3 years. That brings me to tip #1.
#1 Start with 3″ square papers for a 6″ diameter ball.
Unlike origami where you start with one piece of big paper and it folds down to a tiny size, the finished kusudama ball will actually be roughly twice the size of one square paper that you start with. The first year we probably used a 6″ square and ended up with a foot wide “ornament” that is really just table decoration now. The next year, trying to learn from my mistake, I think I referenced the instructions again and made 5″ squares, still not small enough. The third year, I thought I was going smaller yet, and still did a 5″ piece, both of these ended up being 10″ balls that are also too big to fit on a tree, and sit alongside the gigantic one for holiday decorations.
#2. Origami paper is not preferable for a long term keepsake kusudama ball.
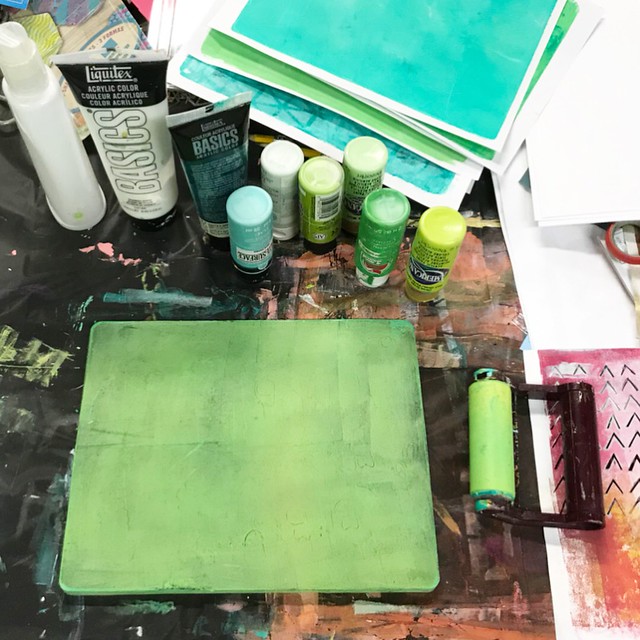
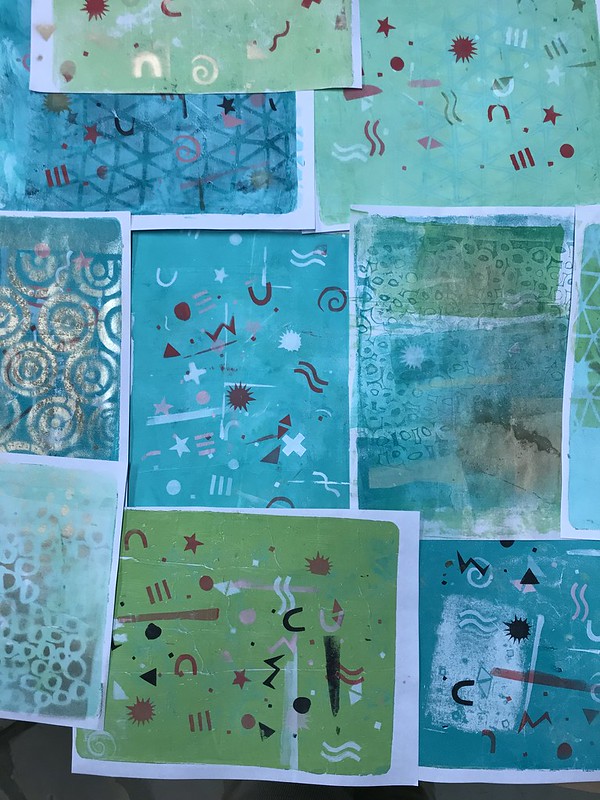
We’ve done a few in origami paper and after a few years of storage and use in between, the corners have all gotten mangled. The paper is just too thin and flimsy. In previous years, we have used recycled magazines, origami and wrapping paper. Christmas 2016 was the first year that it occurred to me to use a paper I decorated myself. I picked a color scheme and used regular office paper with gelatin prints on the front and back. I use basic, cheap craft paint ($1-$2 a bottle) on my gelli plate and the added layers made the paper firm, but not too heavy to fold, or the ornament too heavy to hang from a branch of the Christmas tree.
3. It takes a lot longer to make one than you might think
You fold down and glue 60 squares of paper, into 12 flowers with 5 petals each.
I remember the very first ornament we made, I started out thinking if it went quickly enough, maybe we could decorate a whole tree with these handmade ornaments! That was a joke. One, because we made it TOO BIG, and Two, because the paper was so big, it took us way longer to fold and glue Three Since it was our first time doing it, we were learning as we went, and we had to reference the tutorial a lot and that added time and Four, we used white craft glue like the instructions said. Now, we have it down to a science, don’t need to reference the tutorial, and can pump it out in an efficient manner. Still, it takes the two of us working continually about an hour to make an ornament (just the folding and gluing, not including the printing of paper and cutting it down to size, etc.). It takes 2 hours for just me to make one. 10 years later, we have 10 ornaments (7 that actually fit on the tree) and I like having one for every year as a mark of our tradition.
4. Use a hot glue gun
The tutorial we originally referenced instructs you to use white glue. Um, no. That will easily triple or quadruple your assembly time and will result in a lower quality finished piece, with a shorter life span. I also tried a double sided sticky tape (like a tape runner), also a no! Every year when I take them out again I have to kind of “fix” the original 3 (white glue and tape runner) and that means gluing them back together again because these adhesives start coming apart over time. We now use a glue gun and it goes SO FAST and the pieces have stayed together marvelously. You have to know how to use a hot glue gun, be safe and efficient. There’s no take back if you glue something together wrong and you want to get the pieces together with fairly good precision. That being said, Matt glued this year and maybe last year’s pieces together, while I folded. If you look at our pieces you can see the meeting point tips aren’t perfect, but off much more and things might not meet together to glue.

5. Make sure you work space is clean
There’s nothing worse than soiling a piece you’ve invested a lot of time on.
Here are all of my previous kusudama posts, so you can see the other ornaments we’ve made, individually as well as in the collection.
The original tutorial we referenced has changed, and is now asking for donations AND that people don’t share or direct people to the instructions? (how will people be able to donate if you get no traffic), but I’m sure there are tons of other instructions out there by simply googling it.
Here’s a youtube video
And another for just one single flower
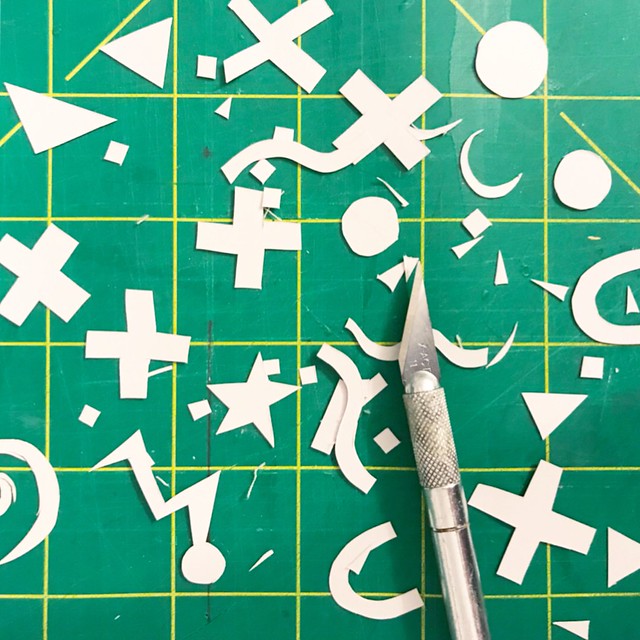
6. Use a template to trim papers.
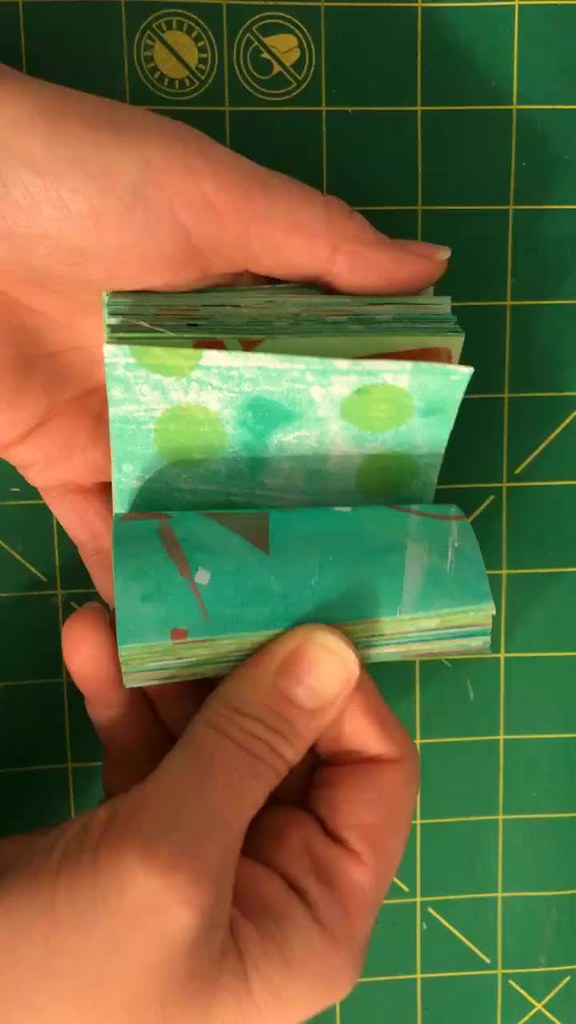
In 2020 we made an ornament that seemed to be the best yet, where all the papers folded smoothly and fit together perfectly. In the past I’ve trimmed my paper down by hand using cutting mat and the inch markers on the surface. This year, I made this quick template on the computer, printed it out and then cut the whole stack of papers according to the template on the top. Here is a downloadable pdf of a 3″ square template for 8.5×11 paper 3×3 kusudama ornament template_robayre .
If you make one and share it to your blog, I’d love to check out the link. Thank you!