
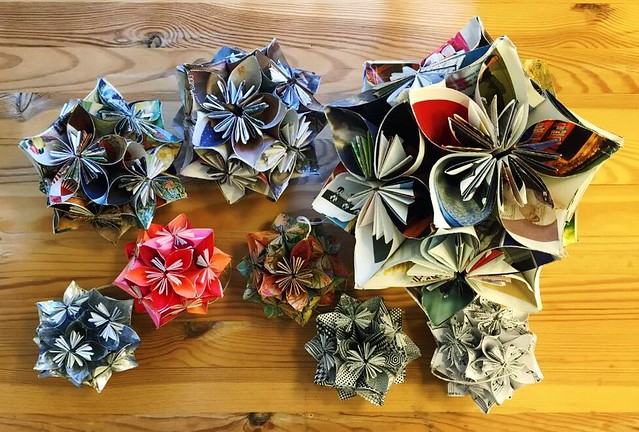
Happy New Year! Matt and I sat down and made our annual kusudama Christmas ornament this weekend, just in time to pack away all the decorations. Actually, we made two because last year we never got one done. We have quite the collection now. I’m so glad that Matt enjoys making them as well.

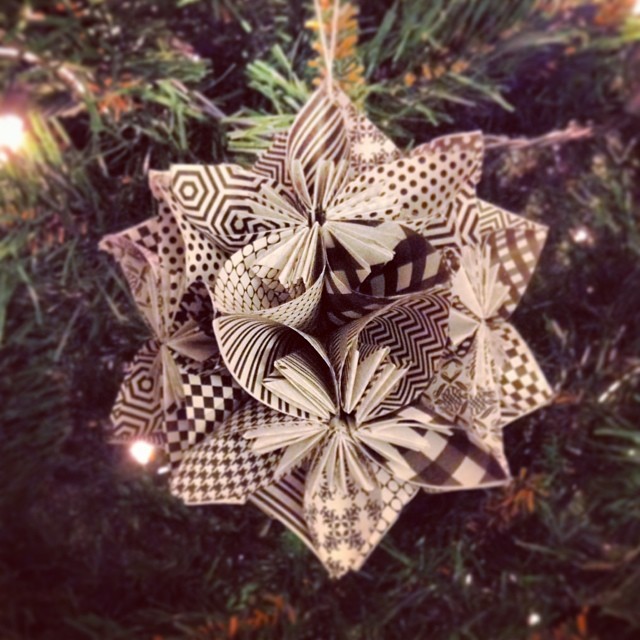
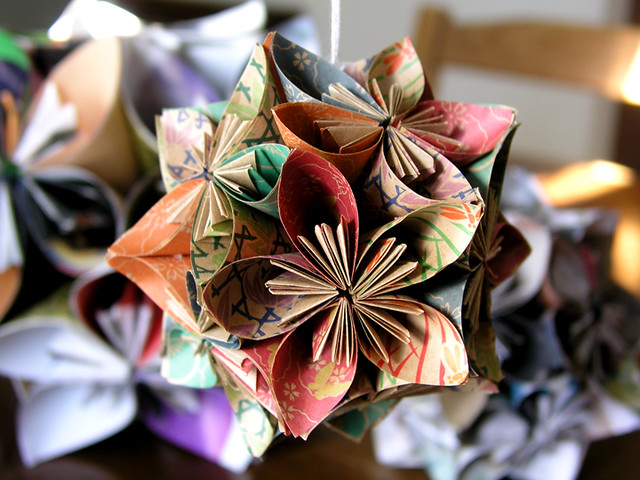
We made this mylar coated wrapping paper one. It made folding and creasing the paper a chore, but it looks very pretty on the tree.
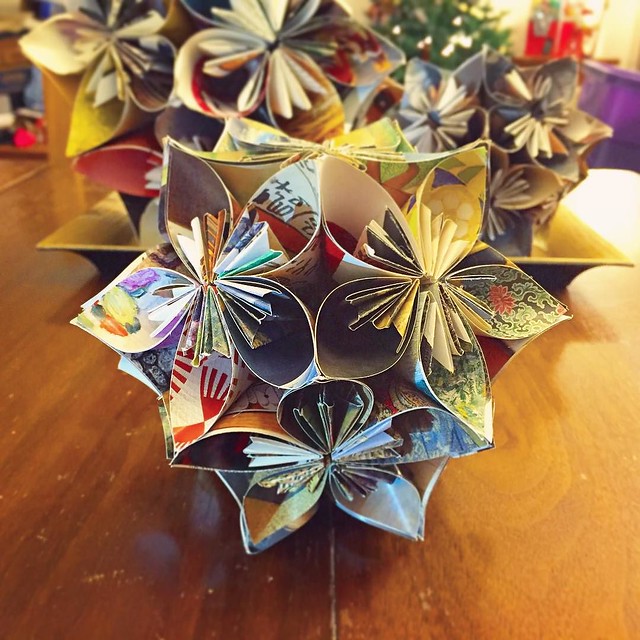
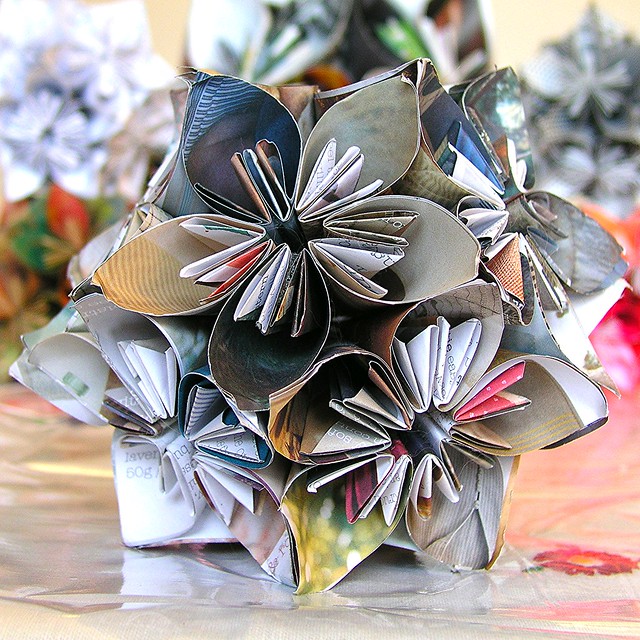
And this one is my new favorite. After piling up years and years of the 365 Metropolitan Museum of Art calendars, I had the idea to cut down some pages to make an ornament. It was actually perfect, because my coworker/friend Fred would always get this calendar for us. Every single day, the first thing he’d do is come and look at the new piece of artwork and then go look it up on google. He passed away a couple of months ago, and I wish I had thought to make him an ornament from a calendar years ago.
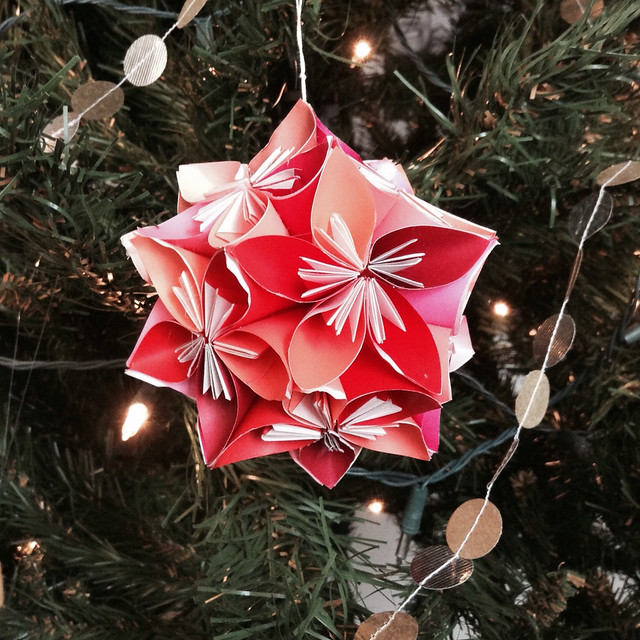
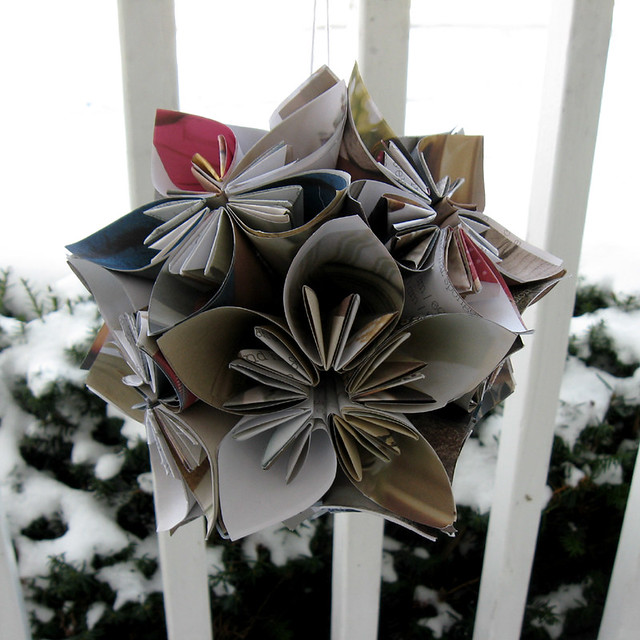
Below are the previous years’ ornaments.
Just some facts about the ornaments if you are interested in making one for yourself:
Paper squares (64 pieces) should be no bigger than 3″ square for a resulting 4.5″ ornament. Trust me, our first “ornament” is about 12 inches in diameter! Next year if I remember, I’m going to try 2-2.5″ sized paper, but I’m not holding my breath, as I accidentally cut 4″ on one ornament again this year.
The instructions (if I remember correctly) say to use glue. There is no way you’d ever get this done if you were waiting for each piece of paper to glue together. The first year or two we used an adhesive tape, but that started acting funky over the years, so we have switched to glue gun and it speeds up the whole process and the pieces hold together SOLIDLY!
We follow this 2 step tutorial each year.
They are AWESOME!